Choosing between a lace frontal vs lace closure can make or break your hairstyle, comfort, and confidence. Whether you’re investing in a new look or upgrading your wig game, understanding the difference between frontal vs closure wigs is essential.
In this guide, GoviHair’ll break down the pros and cons, installation tips, pricing, longevity, and the best scenarios to wear each, so you can decide which option suits you best.
What Is a Lace Frontal?
A frontal Is?
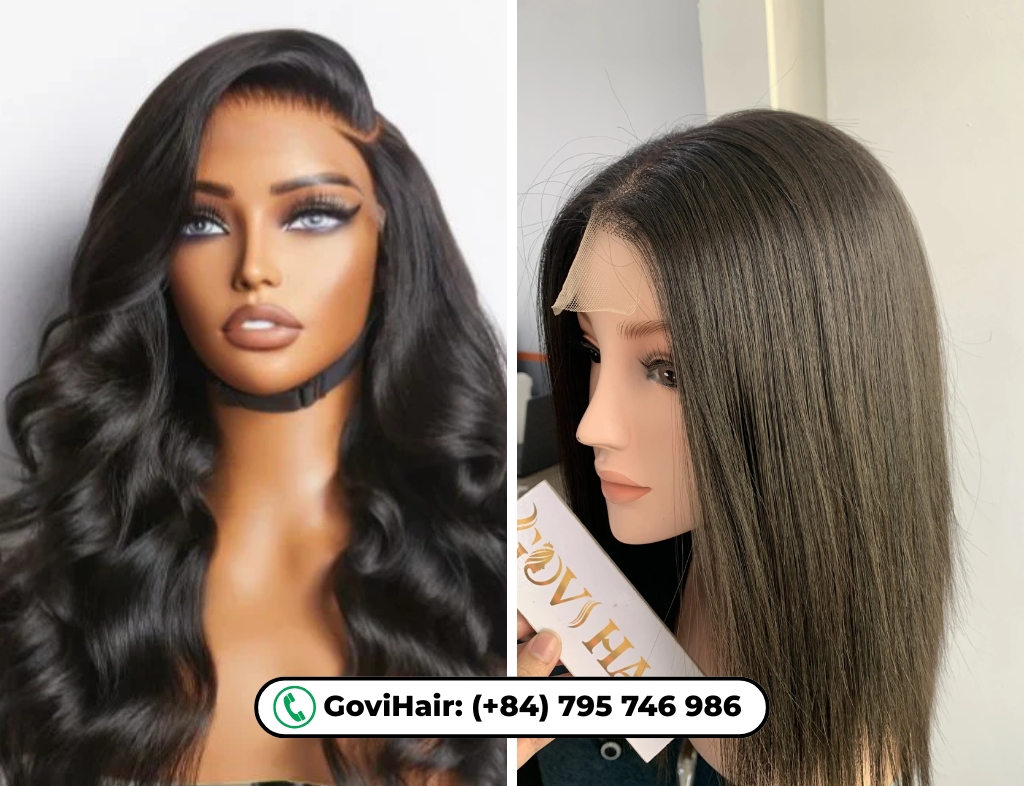
A lace frontal is a hairpiece that runs from ear to ear, typically measuring 13×4 or 13×6 inches. It covers your entire front hairline, offering a natural-looking hairline and maximum styling versatility. Frontal wigs are ideal for creating updos, ponytails, and side parts, mimicking the look of real hair growing from your scalp.
Common Types of Frontal Wigs:
13×4 Lace Frontal Wig
- Covers: Ear-to-ear hairline, 4 inches deep
- Styling: Allows center and side parts
- Best for: Basic styles, natural hairline look
- Bonus: Budget-friendly and beginner-friendly
13×6 Lace Frontal Wig
- Covers: Ear-to-ear hairline, 6 inches deep
- Styling: Deeper parting for more scalp exposure
- Best for: More styling freedom, realistic parts
- Bonus: Great for layered or voluminous styles
HD Frontal Wig
- Lace Type: Ultra-thin, high-definition lace
- Benefit: Virtually invisible on all skin tones
- Best for: Seamless, undetectable installs
- Bonus: Ideal for photos, close-ups, and glam looks
How to Install a Lace Frontal Wig (Step-by-Step Guide)
Installing a lace frontal wig can give you a flawless, natural-looking hairline, but it takes the right steps. Here’s a simplified guide to help you do it correctly, whether you’re installing it at home or prepping for your stylist:
Step 1: Prep Your Natural Hair
- Braid your hair down into cornrows or flat twists.
- Wear a wig cap to secure your hair and create a flat surface.
- Use edge control or gel to smooth down any flyaways or baby hairs.
Step 2: Prep the Wig
- Trim the lace carefully around the hairline.
- Bleach the knots (optional) for a more natural scalp look.
- Pluck the hairline slightly for a realistic, less bulky appearance.
Step 3: Apply Adhesive or Wig Glue
- Clean your forehead with alcohol to remove oil and sweat.
- Apply a thin layer of lace glue or gel along your natural hairline.
- Wait until it becomes tacky, then gently press the lace down.
Step 4: Secure and Style
- Use an elastic band or scarf to melt the lace into your skin.
- Once secure, style the hair as desired, middle part, side part, or updo.
- Use foundation or lace tint if needed to blend the lace seamlessly.
Optional: Glueless Install
- Use an adjustable strap or combs inside the wig cap.
- Skip the glue for easy removal and daily wear.
>> Read more: Best 20+ Lace Frontal Wig Styles: The Ultimate Hair Goals List
Frontal Wig: Pros and Cons
Pros of Frontal Wigs
- Full Hairline Coverage: Extends from ear to ear, creating a natural-looking hairline.
- Maximum Styling Versatility: Allows for middle parts, side parts, ponytails, and even updos.
- Realistic Appearance: Mimics natural hair growth across the entire front of the head.
- Great for Hair Loss Coverage: Ideal for those with thinning edges or alopecia.
Frontal Wig Cons and Solutions
| Cons of Frontal Wigs | Solutions |
| Requires frequent maintenance | Use elastic band or glueless install methods for easier upkeep |
| Shorter install lifespan (2–4 weeks) | Rotate with a closure wig or reinstall professionally every few weeks |
| More expensive than closures | Shop sales or bundles; consider a 13×4 instead of 13×6 for cost savings |
| Not beginner-friendly to install | Book a professional install or use pre-plucked, pre-bleached frontal wigs |
What Is a Closure?
A Closure Is?
A lace closure hair is a smaller piece of lace, typically measuring 4×4, 5×5, or 6×6 inches, that sits at the center or side of your scalp. Closures mimic a natural part and are more beginner-friendly than frontals.

Common Types of Closure Wigs:
4×4 Closure Wig
- Covers: 4 inches wide, 4 inches deep (square lace)
- Styling: Middle part, limited side part
- Best for: Beginners and everyday wear
- Bonus: Easy to install, low maintenance
5×5 Closure Wig
- Covers: 5 inches wide, 5 inches deep (slightly larger than 4×4)
- Styling: More flexible parting than 4×4
- Best for: Natural-looking part with extra lace space
- Bonus: Great balance of realism and ease
6×6 Closure Wig
- Covers: 6 inches wide, 6 inches deep (almost mini-frontal)
- Styling: Wider parting space and better coverage
- Best for: Those wanting frontal-like space without full frontal upkeep
- Bonus: Enhanced scalp illusion, still low-maintenance
HD Closure Wig
- Lace Type: High-definition lace for ultra-natural finish
- Benefit: Blends effortlessly into skin
- Best for: Undetectable installs and close-up looks
- Bonus: Works on all skin tones without tinting
>> Read more: The Different Types of Lace Closure Wigs: What is The Best Type?
How to Install a Lace Closure Wig (Step-by-Step Guide)
Lace closure wigs are known for being beginner-friendly and low-maintenance. Here’s a simple step-by-step guide to help you get a clean, natural-looking install:
Step 1: Prep Your Natural Hair
- Braid your hair down into cornrows or flat twists.
- Put on a wig cap to create a smooth base.
- Use edge control to lay down flyaways for a cleaner look.
Step 2: Prep the Closure Wig
- Trim the lace carefully along the closure edge.
- Optional: Bleach the knots and pluck the part for a more realistic scalp effect.
Step 3: Position and Secure the Wig
- Align the closure part with your natural parting line.
- Secure using:
- Combs or adjustable straps (glueless install), or
- Wig glue or gel if you want extra hold.
Step 4: Blend and Style
- Use foundation or lace tint to blend the lace into your skin.
- Style the hair in a middle or side part, depending on the closure size.
- Use a hot comb or flat iron to lay the part flat and sleek.
Pro Tip: Use a 5×5 or 6×6 closure if you want more parting space and a slightly more versatile style while still keeping it easy to manage
Closure Wig Pros and Cons
Pros of Closure Wigs
- Beginner-friendly and easy to install
- Lower maintenance compared to frontals
- More affordable than frontal wigs
- Offers a natural-looking part (center or side)
- Longer-lasting per install (can last 4–6 weeks or more)
Closure Wig Cons and Solutions
| Cons of Closure Wigs | Solutions |
| Limited styling options | Choose a 5×5 or 6×6 closure for wider parting and more flexibility |
| Doesn’t cover entire hairline | Blend with baby hairs or pair with leave-out for a seamless hairline |
| Less dramatic or “glam” than a frontal | Select HD lace for realism; style with curls or volume for a fuller look |
| Not ideal for high ponytails or updos | Use low buns or half-up styles to work with the parting space |
Lace Frontal vs Lace Closure: A Quick Comparison Guide
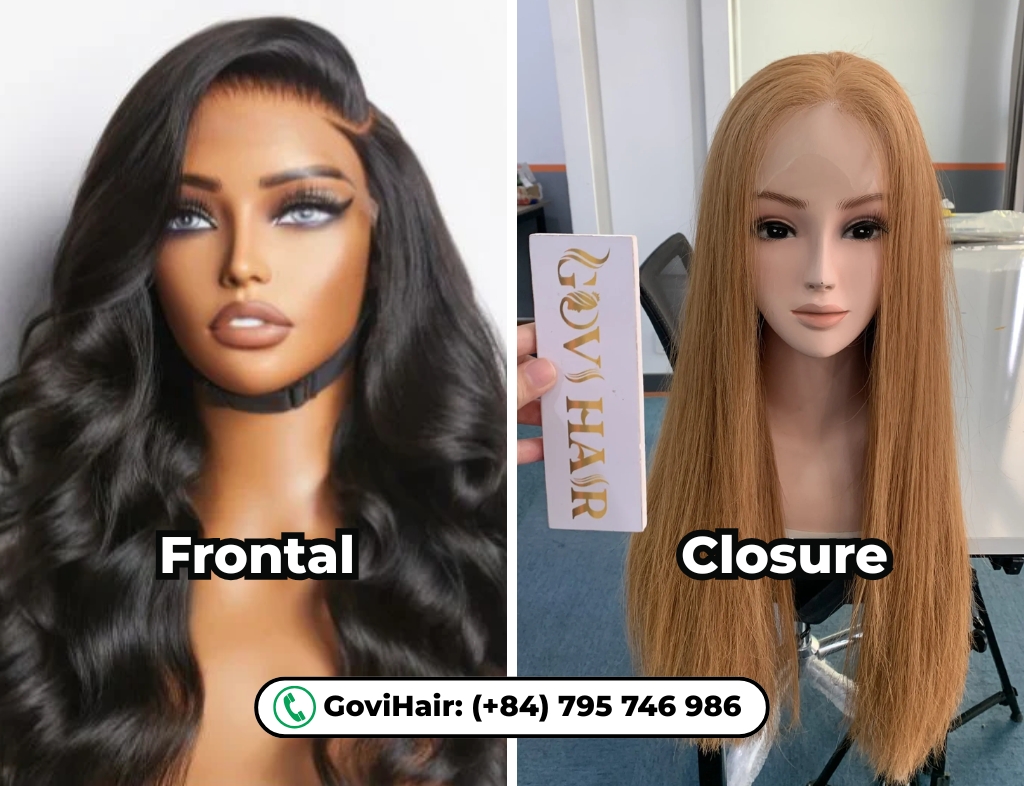
Deciding between a lace frontal vs lace closure? Here’s a quick look at the key differences to help you pick the right one. Whether you want more styling freedom or something low-maintenance, GoviHair have got you covered.
| Feature | Frontal Wig | Closure Wig |
| Lace Coverage | Ear-to-ear (13×4 or 13×6) | Small square area (4×4, 5×5, or 6×6) |
| Styling Versatility | High – allows side parts, middle parts, ponytails, and updos | Moderate – mostly middle/side parts only |
| Natural Hairline Look | More realistic, mimics full hairline | Natural part only; limited hairline exposure |
| Ease of Installation | More complex; often requires professional install | Beginner-friendly; can be installed at home |
| Maintenance | High – requires frequent touch-ups and glue | Low – lasts longer and needs less upkeep |
| Cost | More expensive | More affordable |
| Lifespan Per Install | 2–4 weeks | 4–6 weeks or longer |
| Best For | Glam styles, versatility, hairline coverage | Everyday wear, convenience, protective styling |
| Ideal For | Experienced users, those with hair loss or thinning edges | Beginners, budget-conscious users, low-maintenance routines |
Use the term “frontal closure” when referring to both types collectively, especially when browsing product options.
Which Lasts Longer, Frontal or Closure?
When it comes to longevity per install, closures definitely last longer. A well-installed closure wig can stay in place for 4 to 6 weeks or more with minimal maintenance. On the other hand, frontals typically last 2 to 3 weeks before needing reinstallation due to lace lifting, adhesive buildup, or styling wear.
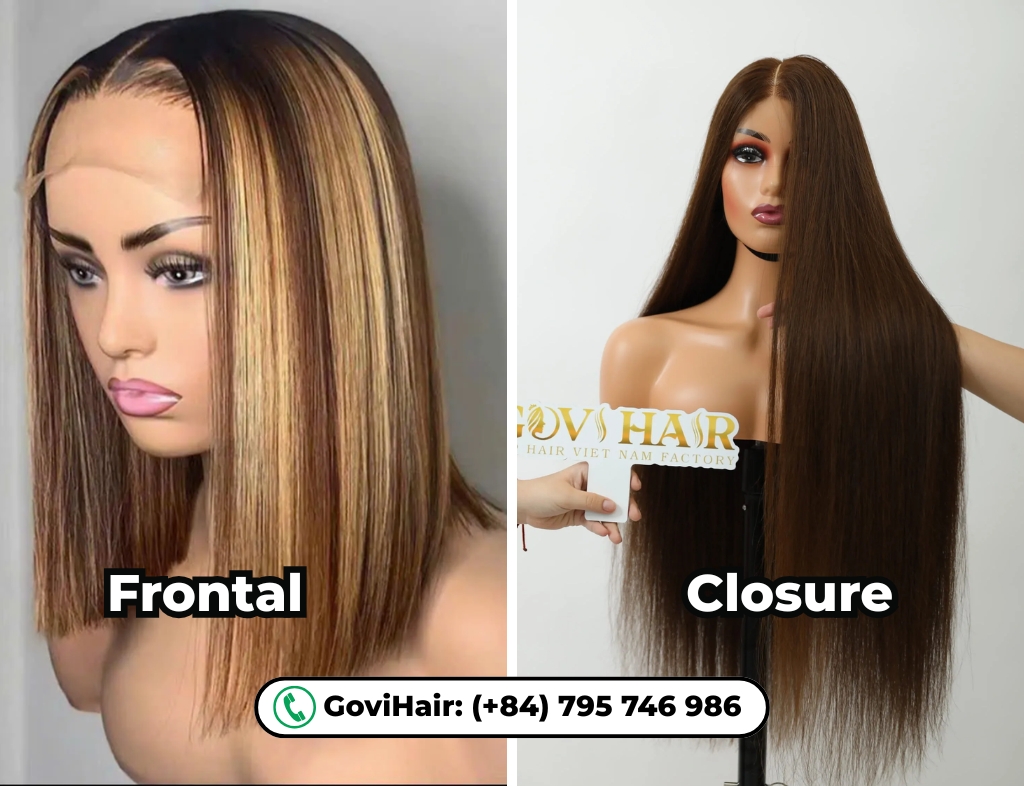
Why closures last longer:
- Less lace area means less chance of lifting
- Doesn’t require as much glue or styling
- Easier to protect during sleep and daily routines
Need longer-lasting wear? Go for a closure. But if styling versatility is more important, a frontal might be worth the extra maintenance.
How to Choose between Lace Frontal and Lace Closure?
When it comes to picking between lace frontal and lace closure, your choice depends on your style preferences, maintenance habits, and desired look. Here’s a quick breakdown to help you decide:

- Maintenance: Lace frontals require more upkeep, think reapplication of glue or adhesive. Lace closures are easier to manage and last longer between installs.
- Styling Needs: If you love versatile styling (updos, ponytails, deep side parts), go for a frontal. If you’re okay with a more fixed part, a closure will do the job.
- Budget: Frontals are typically more expensive due to the larger lace area and additional styling complexity. Closures are a more affordable option.
- Skill Level: Installing a frontal can be tricky, so it’s best for those with experience or professional help. Closures are beginner-friendly and easier to install at home.
- Hair Goals: If you’re aiming for a flawless, realistic hairline and want the freedom to change up your look frequently, a frontal might be worth the extra effort.
Lace Frontal vs Closure Maintenance Tips: Keep Your Wig Looking Fresh
When it comes to lace wigs, how well you maintain them can make all the difference. Here’s a quick breakdown of maintenance tips tailored for lace frontal vs closure wigs, so you can keep them looking flawless and extend their lifespan.
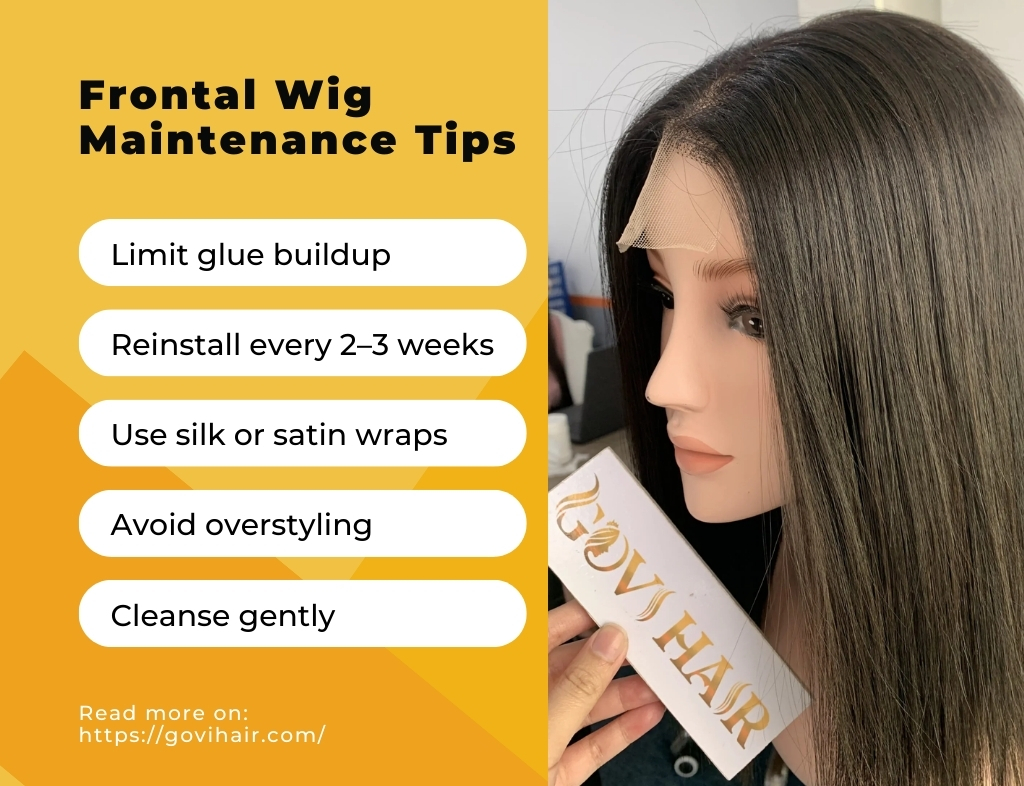
Frontal Wig Maintenance Tips
- Limit glue buildup: Clean your hairline and lace regularly to prevent product buildup.
- Reinstall every 2–3 weeks: Frontals usually don’t last as long per install, so plan for touch-ups.
- Use silk or satin wraps: Wrap your hair at night to keep the lace melted and secure.
- Avoid overstyling: Too much heat or tugging on the lace can lead to shedding or bald spots.
- Cleanse gently: Use sulfate-free shampoos and pat the lace dry to avoid damaging the lace base.
Pro Tip: Consider switching to a glueless frontal for easier daily removal and less stress on your edges.
Closure Wig Maintenance Tips
- Longer wear time: Closures can last 4–6 weeks or more, but still need care.
- Wash less frequently: Since closures are low-maintenance, wash every 2 weeks unless there’s product buildup.
- Keep the part flat: Use a hot comb or flat iron with caution to lay the part and keep it natural.
- Store properly: When not wearing, keep your closure wig on a wig stand to maintain its shape.
- Moisturize the hair: Use light oils or leave-in conditioners to keep the strands soft and shiny.

Pro Tip: Choose HD lace closures for better blending and less tinting work, perfect for quick installs.
FAQs
1. What is the difference between a frontal and a closure?
A lace frontal covers the entire hairline from ear to ear (usually 13×4 or 13×6), while a lace closure is a smaller piece (such as 4×4, 5×5, or 6×6) that only covers the center part of the head.
2. Which looks more natural: frontal or closure?
Both can look natural when installed correctly. However, frontals provide a more realistic hairline and styling flexibility, while closures offer a natural look with less maintenance.
3. Which is better for beginners?
Closures are generally better for beginners. They’re easier to install, require less customization, and are more forgiving than lace frontals.
4. Can you wear ponytails with a closure?
Closures allow low ponytails or simple updos, but high ponytails and slick-back styles are better achieved with a lace frontal.
5. Do frontals damage edges more than closures?
They can if installed incorrectly. Frontals sit along the hairline and require proper application to avoid edge thinning or breakage, while closures place less stress on the edges.
Conclusion: Is A Closure Or Frontal Better?
Both lace frontal vs lace closure have their place in your wig collection. If you’re looking for natural aesthetics with maximum styling, a frontal wig is your go-to. If you prefer simplicity, durability, and affordability, a closure wig is your best bet.
Need help picking the perfect lace wig? Explore GoviHair’s premium selection of lace frontal or lace closure, all made with 100% human hair, available in HD lace, body wave, straight, and more.
Contact us now:
- WhatsApp: (+84)795 746 986
- Email: [email protected]
- Instagram: govihair_vietnamhair_factory
- Tik Tok: govihairvietnam_official
- Website: https://govihair.com/




 Ms. Rosie