If you’re tired of temporary clip-ins or tape extensions that slip or feel bulky, k tip extensions install might be the game-changer you’ve been looking for. This popular method uses small keratin bonds to attach individual strands of premium human hair right to your natural hair, creating a seamless, natural-looking blend that moves just like your own locks. Whether you’re adding length, volume, or trying a new style, K-tip extensions offer a lightweight, durable solution that can last 3-6 months with proper care.
In this detailed guide, we’ll walk you through everything: what K-tips really are, their pros and cons, essential tools and kits, a clear step-by-step installation process (including hot and cold fusion), special considerations for short hair or Black hair textures, at-home vs. professional options, real cost breakdowns, aftercare tips, and why many choose high-quality options like those from GoviHair. By the end, you’ll have all the info to decide if K-tip extensions are right for you.
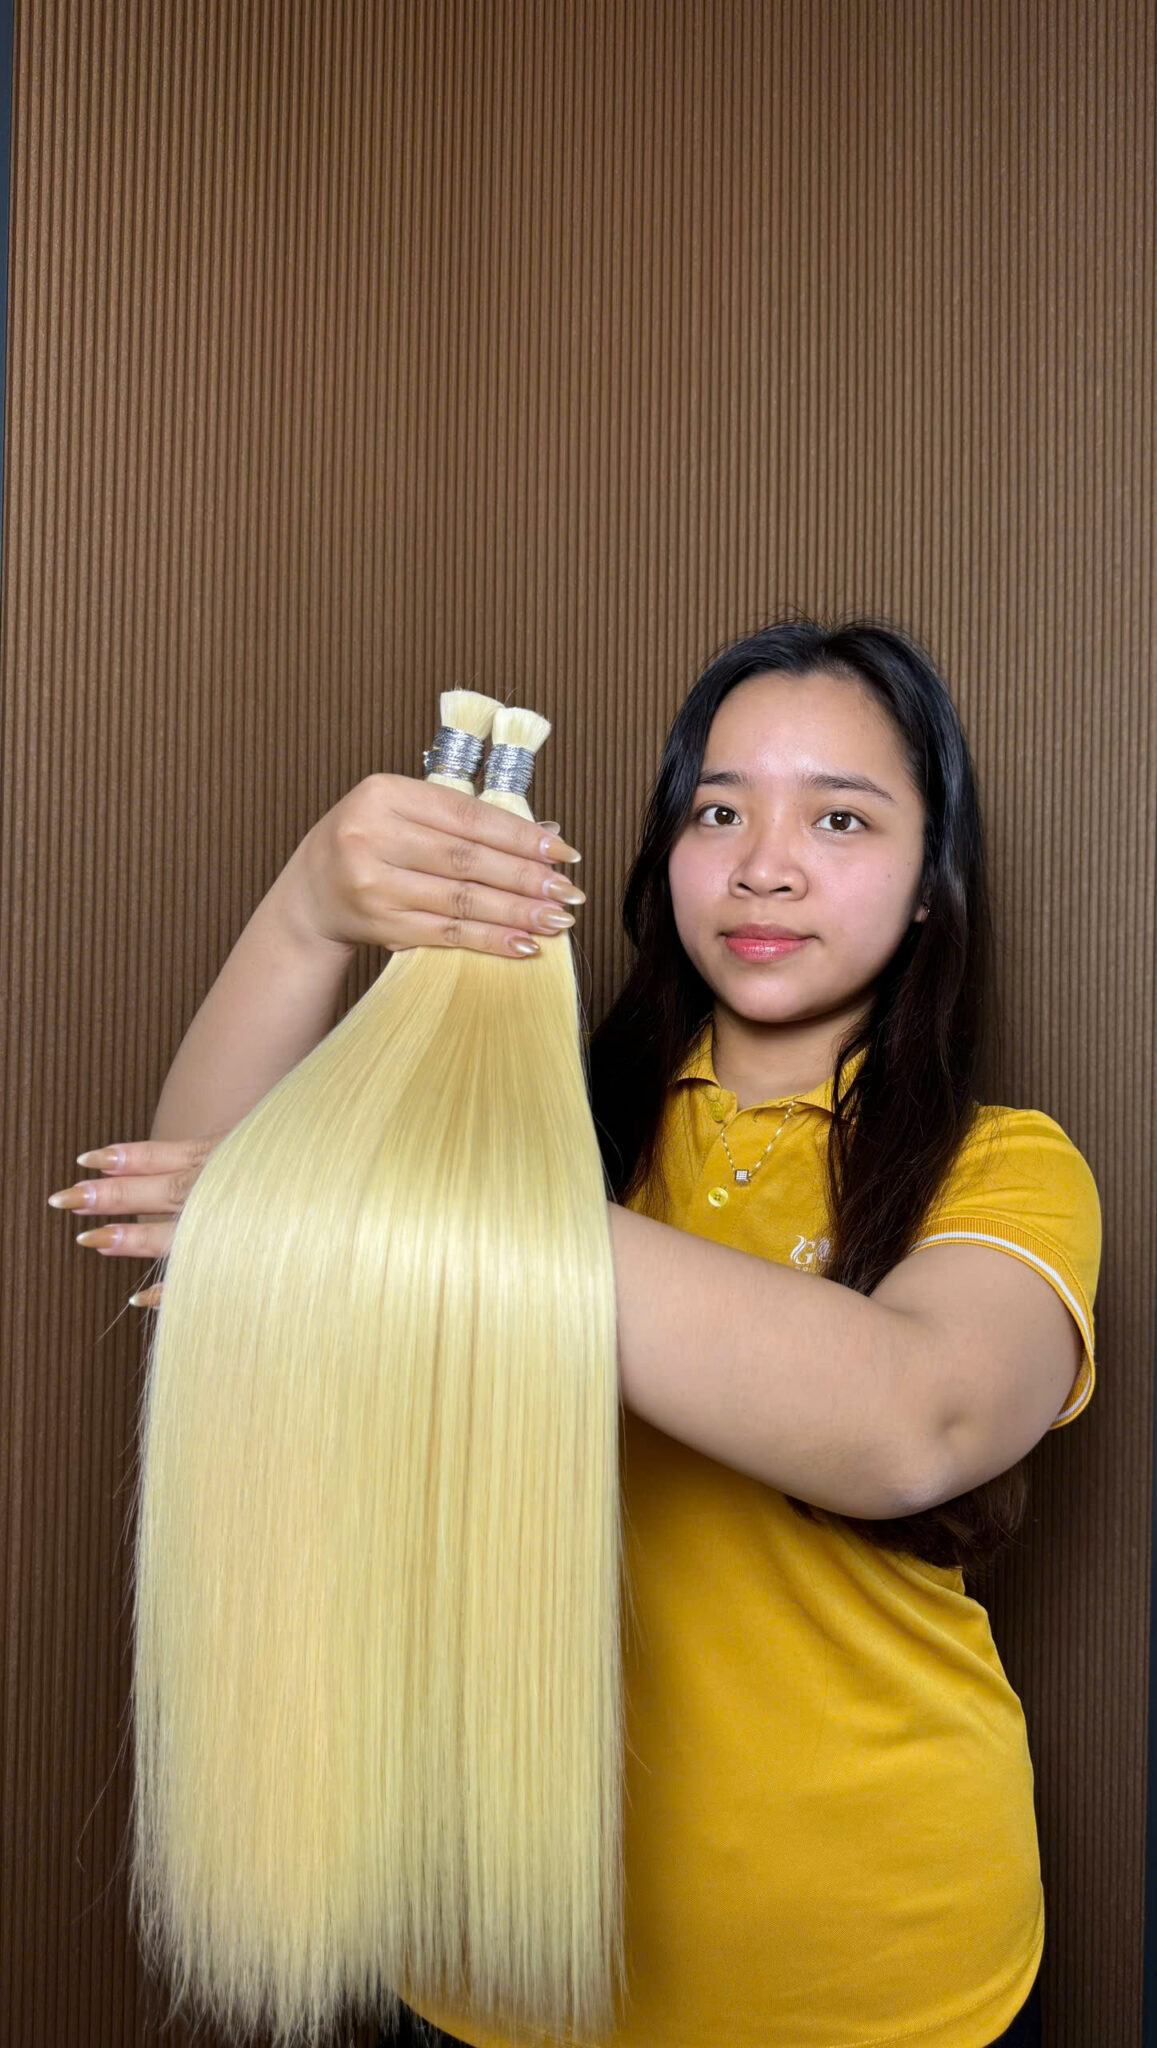
What Are K Tip Hair Extensions?
K-tip extensions, also known as keratin tip extensions, are individual strands of human hair with a small keratin bond pre-attached at the top. Keratin is a natural protein found in your hair, so the bond melts and fuses gently to your strands using heat (or cold tools in some methods).
The result? Tiny, almost invisible attachments that sit close to the scalp without any metal beads, tape, or clips. This creates a super natural look and feel, no bulky sections or visible lines, even when you tie your hair up.

How Does K Tip Extensions Installation Work?
During installation, a stylist (or you, if doing DIY with care) sections your hair, places the extension strand under a small piece of your natural hair, and applies controlled heat to melt the keratin. The bond cools and hardens into a secure cylinder that holds everything in place. Each strand is applied one by one, allowing for precise placement and customization based on your hair density and desired volume.
This strand-by-strand approach means K-tips move freely with your natural hair, making them ideal for active lifestyles – workouts, swimming, and daily styling are no problem.

Who Are K Tip Extensions Best For?
K-tip extensions shine for people with medium to thick hair density and strong strands that can support the bonds. They’re perfect if you want long-term length or volume without daily hassle. Straight, wavy, or curly textures work great, as long as your hair is healthy enough to hold the attachments.
They’re especially popular in places like the USA, UK, Europe, and Asia where people love versatile, low-maintenance enhancements that look completely natural.
Difference Between K-tip vs I-tip Extensions
K-tip uses heat to melt a small keratin tip, bonding the extension directly to your natural hair strand. This creates a tiny, flat or cylindrical bond that’s super discreet and flexible. In contrast, I-tip extensions are pre-tipped with a small metal or plastic bead (micro-ring) without heat needed. A special tool threads your natural hair through the bead, then clamps it tight to hold the extension in place.
The biggest difference? K-tips feel lighter and more natural in movement because the bond is soft and mimics hair texture once cooled. I-tips, while heat-free (great for damaged hair), can sometimes feel heavier or more noticeable due to the rigid bead, especially if your hair is fine. K-tips also allow fuller 360-degree styling without visible attachments, whereas I-tips might show small beads in updos if not placed perfectly.

>> View more: I Tip vs K Tip Hair Extensions: Which is Better For You?
Pros and Cons of K Tip Extensions
Like any hair enhancement, K-tips have strengths and trade-offs. Here’s a balanced look to help you decide. Understanding both the positives and potential downsides upfront will save you from surprises later and help you manage expectations realistically. Many people find the benefits far outweigh the cons, especially when they choose high-quality hair and a skilled installer.
Pros of K-Tip Hair Extensions
K-tip extensions deliver an incredibly natural appearance thanks to tiny, discreet bonds that blend seamlessly. You get full 360-degree movement, so updos, ponytails, and braids look effortless without hiding attachments.
Durability is another big win, with proper care, they last 3-6 months (sometimes longer) and withstand heat styling, swimming, and workouts. They’re lightweight, so no heavy pulling on your roots, and they add volume without bulk.
Many users love the confidence boost from hair that looks and feels like their own, just longer and fuller. Plus, no daily removal like clip-ins.
Cons of K-Tip Hair Extensions
Installation takes time (2-6 hours for a full head), which makes it pricier and requires patience. Heat application means there’s a small risk of damage if done incorrectly, overheating or poor placement can stress hair.
Removal must be professional to avoid breakage, and maintenance involves gentle routines to prevent matting or buildup. They’re not reusable after removal (the bond breaks), so you’ll need new extensions each cycle. For very fine or fragile hair, they might not be ideal without careful customization.
>> Read More: Keratin Hair Extensions: The Pros And Cons You Need to Know
K-Tip Extensions Installation Tools and Kits
Success starts with quality tools. Whether going pro or DIY, having the right gear prevents mistakes and protects your hair. Investing in reliable, professional-grade equipment not only makes the installation process smoother and faster but also minimizes risks like overheating or uneven bonds. With the proper setup, you’ll achieve salon-quality outcomes that look natural and last longer.
Essential K-Tip Installation Tools
A fusion iron (or heat connector) is the star – adjustable temperature (usually 100-200°C) melts keratin evenly without scorching. Look for one with precise control.
Pliers or a connector tool shapes the melted bond into a smooth cylinder. Sectioning clips and a fine-tooth comb divide hair accurately. Heat protector shields safeguard your scalp during fusion.
Finger protectors and a heat shield template add extra safety.

What’s Inside a k tip hair extensions kit?
Beginner kits often include a basic fusion iron, pliers, sectioning clips, heat shields, and sometimes practice hair or keratin beads for repairs.
Professional kits go further: digital irons, multiple bond sizes, removers, and aftercare products. For home use, starting simple with many kits cost $100-300. Pros invest in advanced sets for speed and precision.
How to Install k tip hair extensions: Steps by Steps
The hot fusion method is the most common and reliable way to achieve a strong, long-lasting bond. It uses controlled heat to melt the keratin tip, fusing it seamlessly with your natural hair. This technique creates tiny, discreet bonds that feel natural and allow full styling freedom.
Preparation Before Installation
Before starting any fusion method, prepare your hair properly for the best results. Wash with a clarifying shampoo to remove oils, buildup, and product residue. This ensures strong adhesion. Dry your hair completely, as moisture can weaken bonds.
Avoid applying conditioner or oils near the roots. Check that your hair is at least 4-6 inches long and in healthy condition. Section the hair horizontally from the nape upward, using clips to secure upper layers out of the way.
Hot Fusion Method
Hot fusion delivers durable, natural-looking results and is preferred by most professionals. Here’s the detailed step-by-step process:

Section your natural hair precisely
Take a small, thin section of natural hair (about the same thickness as the K-tip extension) using a tail comb. This ensures even weight distribution and prevents pulling.
Insert the heat shield
Place a heat protector shield or disc close to the scalp under the sectioned hair. This protects your skin and roots from direct heat during melting.
Position the K-tip extension
Slide the pre-bonded K-tip extension under the natural hair section, positioning it about 0.5-1 cm from the scalp. Too close can cause discomfort; too far reduces security.
Preheat the fusion ironx
Set your professional fusion iron to the recommended temperature (usually 180-200°C, depending on hair type). Let it heat fully for consistent melting.
Melt the keratin bond
Clamp the fusion iron around the keratin tip and natural hair for 2-5 seconds. Apply even pressure until the keratin fully melts and surrounds the hair.
Shape the bond quickly
Remove the iron and immediately roll the melted keratin between your fingers (use finger protectors) or pliers to form a smooth, flat or cylindrical bond. This step is crucial for comfort and invisibility.
Allow to cool and set
Let the bond cool completely (about 10-20 seconds) before touching or moving to the next strand. Tug gently to check security.
Repeat in a bricklay pattern
Continue row by row upward, staggering bonds like bricks for natural movement and even weight. Finish with a final blend cut if needed for seamless layering.
This method typically takes 2-6 hours for a full head but provides excellent longevity.
Cold Fusion Method
Cold fusion is ideal if you want to avoid heat entirely. It often uses an ultrasonic tool that sends waves to activate and bond the keratin, or micro rings/shrink tubes for a mechanical hold. This method is gentler and great for damaged or fine hair.
Here’s the step-by-step process:
Section your hair carefully
Divide into small, even sections starting from the nape, just like hot fusion. Use clips to keep upper layers out of the way.
Thread the natural hair
Take a small section of your natural hair and thread it through the cold fusion applicator tool, such as a micro ring, shrink tube, or the tip of the ultrasonic device.
Position the K-tip extension
Slide the pre-bonded K-tip extension onto the threaded section, placing it close to the roots (about 0.5-1 cm from the scalp) for a natural look without tension.
Apply the ultrasonic tool (for wave-based bonding)
Clamp the ultrasonic cold fusion machine over the keratin bond. Activate it for a few seconds, the vibrations modify the keratin structure, creating a secure bond without heat.
Or, for micro ring/shrink tube variant: Use pliers to tightly clamp the ring or tube around the extension and natural hair.
Shape the bond
Gently roll or flatten the bonded area with fingers or pliers to make it smooth and discreet. This ensures comfort and invisibility.
Let it set
Allow the bond to cool and harden naturally (no heat needed). Check for security without pulling.
Repeat in rows
Work upward in a bricklay pattern, spacing bonds evenly for natural movement and balance.
Final blend
Once complete, gently brush and style to integrate the extensions seamlessly. Trim if needed for perfect layering.
This method takes similar time (2-6 hours) but feels cooler and safer on the scalp.

K-Tip Extensions Installation on Short Hair
Short hair can work beautifully with K-tips if done right.
Minimum length is usually 4-5 inches (some pros go to 3-4 inches with micro bonds). Focus placement on lower sections first, using smaller bonds for discreet blending. Layer gradually upward to avoid pulling.
Common mistakes include overloading thin areas (causing tension) or placing too close to the scalp. Space evenly and use lighter weight hair for short bases.

K-Tip Extensions for Black Hair – What You Need to Know
Black hair textures (coily, curly, wavy) pair well with K-tips when matched properly.
Choose extensions with similar curl patterns (like 3C-4C kinky curly) for seamless blend. Use smaller bonds for finer textures to reduce tension. Placement near roots needs extra care and can leave space for natural movement.
Protective tips: gentle detangling with fingers, moisturize mid-lengths with oil-free products, and avoid tight styles initially. High-quality human hair (virgin or raw) holds curl better and lasts longer.

K-Tip Extensions Install Price & Cost Guide
Costs vary by location, hair quality, and volume.
Average K-Tip Installation Cost
- Full head averages $500-1500 (hair + install).
- Shorter lengths or less volume: $300-800.
- Urban areas and premium salons charge more; international differences apply (higher in US/Europe).
Factors That Affect Pricing
- Hair quality: raw/single donor is pricier but lasts 2-5 years.
- Number of strands: 150-200 for full head.
- Pro vs DIY: salons add labor ($300-600+).
- Custom colors/textures increase cost.
Aftercare Tips to Make K-Tip Extensions Last Longer
Wash 2-3 times weekly with sulfate-free shampoo, focusing on the scalp. Condition mid-lengths to ends only. Brush daily with a loop or soft bristle brush.
- Do: use heat protectant, braid loosely at night.
- Don’t: apply oil near bonds, use high heat directly on them. Schedule salon checks every 6-8 weeks for adjustments.

Why Should You Choose K-Tip Extensions at GoviHair?
Where to buy k tip hair extensions with high quality? At GoviHair, we specialize in high-quality K tip hair extensions tailored to diverse needs. Our raw single donor hair, cut from one person, offers superior strength and smoothness. It can be bleached to blonde shades like #613 without damage.
With lifespans of 2-5 years, it’s ideal for long-term wear. Popular across America, Europe, and Asia, including the USA, Mexico, UK, Germany, and Israel. Virgin hair options from multiple donors suit darker colors affordably.
Available textures: straight, bone straight, wavy, curly. Lengths from 8” to 40”, with custom colors and textures on request. MOQ starts at 300g for testing. Production in 7-10 days. Worldwide shipping via DHL, FedEx, UPS for America, Europe, Asia (7-9 days). Trusted agents for Africa (7-9 days).

FAQs About K-Tip Extensions Install
How long does K-Tip installation take?
A full K-Tip extensions install typically takes 3 to 5 hours, depending on the number of strands used, hair density, and the stylist’s experience.
How long do K-Tip extensions last after installation?
With proper care, K-Tip hair extensions usually last 3 to 5 months. The longevity depends on hair growth, maintenance routine, and how well the bonds are cared for.
Do K-Tip extensions damage your hair?
When installed and removed by a trained professional, K-Tip extensions should not cause significant damage. Problems usually occur from improper installation, excessive heat, or neglecting maintenance.
How many K-Tip strands are needed for a full head?
Most full installs require 150 to 250 strands. Fine hair may need fewer strands, while thicker hair may require more for balanced volume and coverage.
Can you wash and style hair with K-Tip extensions?
Yes. You can wash, curl, straighten, and style K-Tip extensions like natural hair. However, it’s important to avoid direct heat and heavy products on the keratin bonds.
Final Thoughts
K tip extensions install delivers natural, versatile, long-lasting results that boost confidence and style options. They’re ideal for anyone with suitable hair seeking seamless enhancement without daily fuss.
Ready to transform your look with k tip hair extensions? Explore premium options at GoviHair today and get the flawless, natural hair you’ve always wanted!
Contact with us:
- WhatsApp: (+84)795 746 986
- Email: [email protected]
- Instagram: govihair_vietnamhair_factory/
- Tik Tok: govihairvietnam_official
- Website: https://govihair.com/


 Ms. Rosie