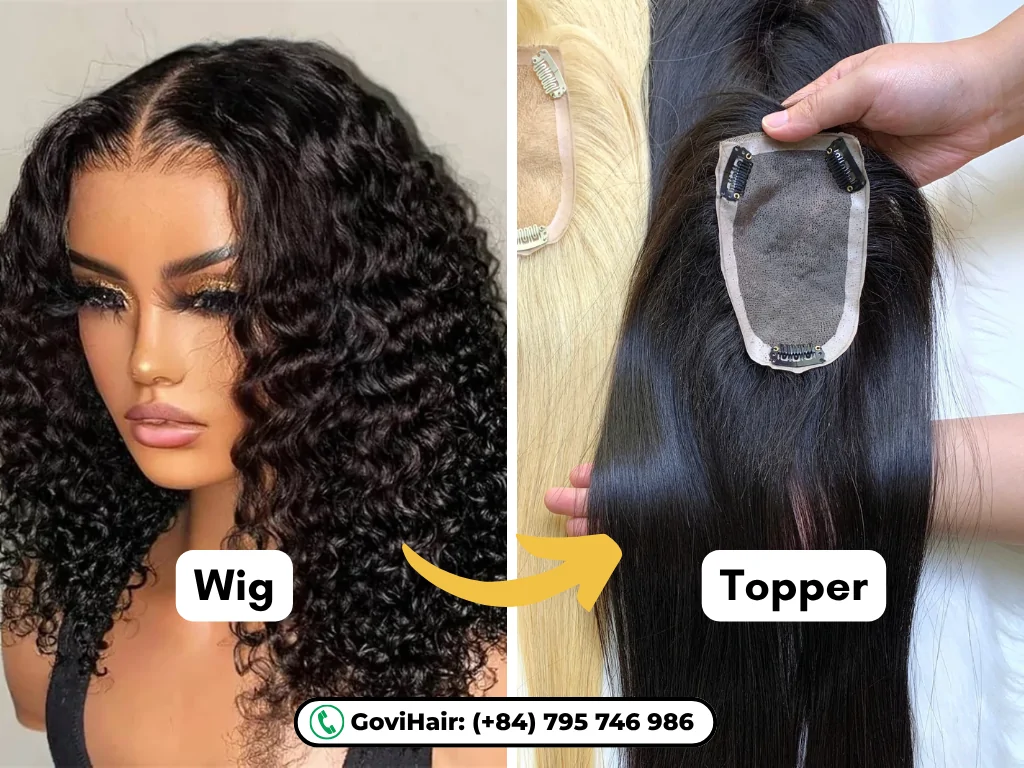
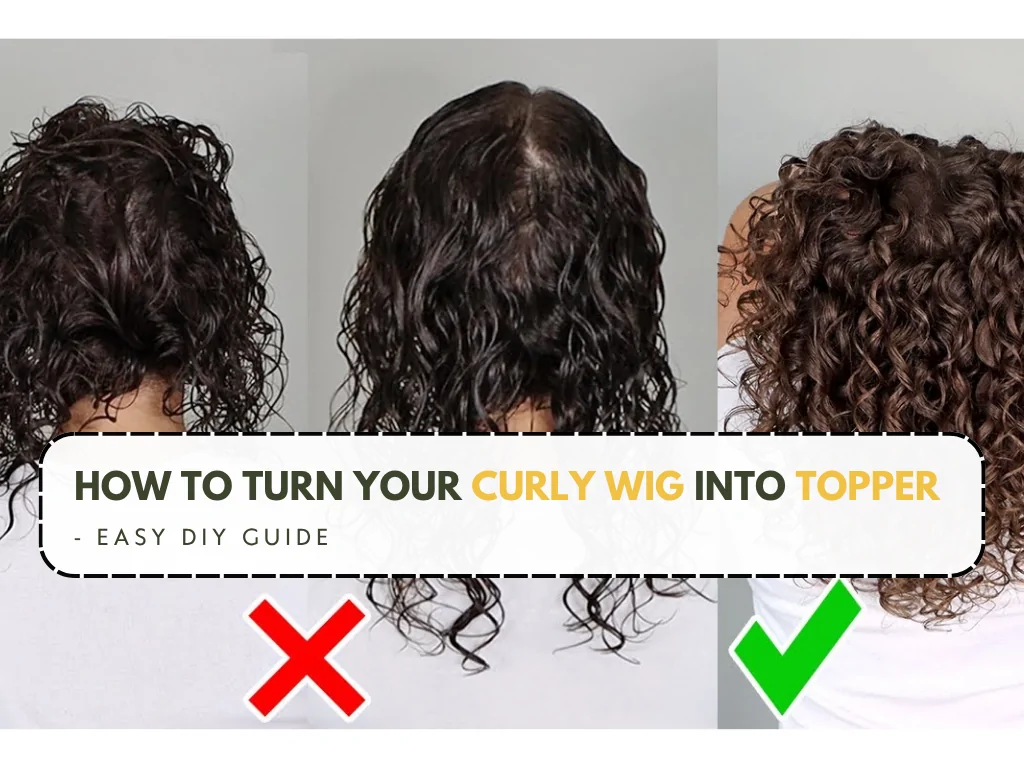
If you’ve been wondering how to turn your curly wig into topper, you’re not alone. Many women are choosing to transform their full wigs into lightweight, breathable toppers, especially for comfort, convenience, and blending with natural hair. The good news? You don’t need to be a professional hairstylist or use heat tools.
This guide from GoviHair will walk you through everything you need to know, step by step.
Why People Choose to Turn Their Curly Wig Into Topper?
Converting a curly wig into a topper has become a popular DIY beauty hack and for good reason. Here are the top motivations behind this smart switch:
More Comfort, Less Bulk
Full wigs can feel heavy and hot, especially during long wear. A topper made from your curly wig offers a lighter, cooler alternative that’s easier on the scalp.
Saves Money
Buying a high-quality human hair topper can be expensive. If you already own a curly wig, converting it into a topper gives you a new hairpiece without spending more.
Better Customization
Turning a wig into a topper lets you adjust the shape, density, and create a blendable cap construction to fit your head, parting, and curl pattern, something pre-made toppers often can’t do.
Ideal for Thinning or Partial Hair Loss
Many women experience thinning at the crown or along the part. A converted topper provides targeted coverage without the need for a full wig.
Keeps What You Love
Maybe your curly wig has the perfect color, curl, or texture, but the full-cap style feels like too much. Converting it into a topper keeps what you love and removes what you don’t.
Easy to Blend With Natural Hair
Toppers are meant to blend with your own hair. Curly wigs often match natural curl textures, making them great candidates for a seamless, natural look when turned into toppers.
Beginner-Friendly DIY Project
You don’t need special tools or salon skills. With a few clips, a pair of scissors, and some simple sewing, anyone can create a topper at home.
Tools & Materials You’ll Need To Turn Your Curly Wig Into Topper
Before you start transforming your curly wig into a topper, it’s important to have the right tools on hand. Whether you’re aiming for a temporary fix or a long-term topper solution, these essentials will make the process smoother, neater, and more successful.
These core tools are essential for converting your wig into a functional, secure, and wearable topper:
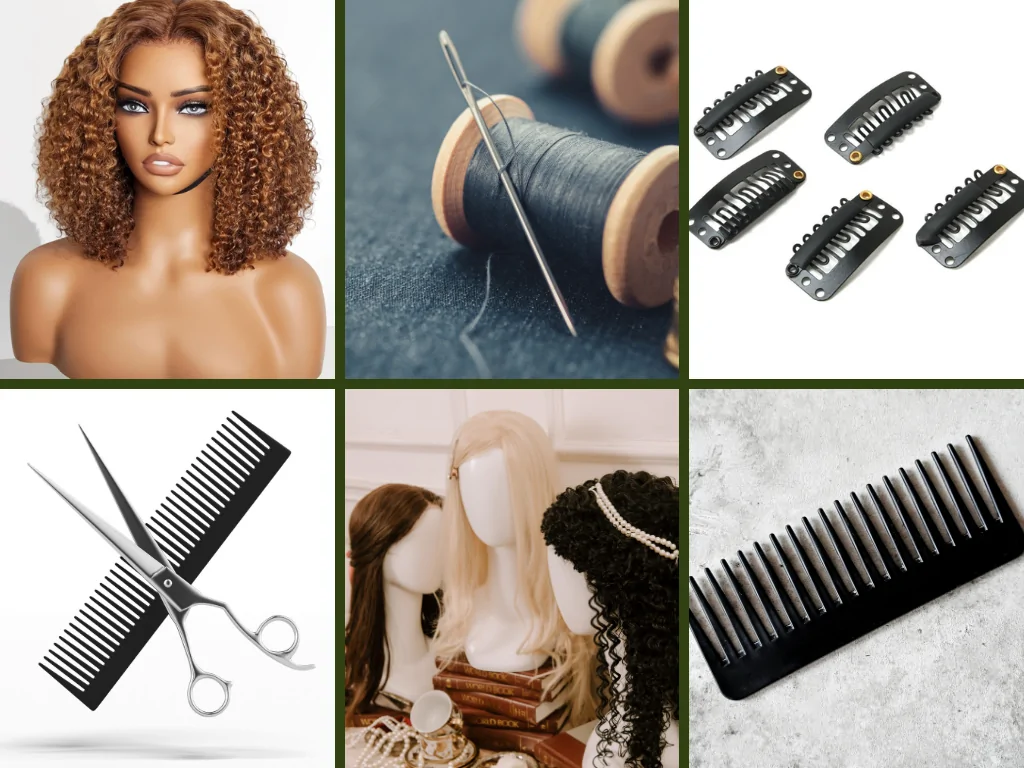
A Curly Wig
Choose a curly wig that closely matches your natural hair texture for seamless blending.
- Best option: 100% human hair for heat-styling compatibility and long-term use
- Budget option: Heat-resistant synthetic wigs with defined curls like kinky, deep wave, or water wave patterns
Sewing Needle & Thread
Used to securely attach clips to the wig base.
- Tip: Use black or brown thread to blend with the wig’s cap color
- Alternative: A hot glue gun for a faster, but less permanent, method
Wig Clips or Toupee Clips
- Recommended: 4–6 clips, depending on the size of your topper
- Buy: Choose silicone-lined clips for better grip and scalp protection
Scissors
You’ll need a sharp pair of fabric scissors to trim the wig cap to the right size and shape.
Wig Stand or Mannequin Head
This helps hold your wig steady while you work, making cutting and sewing much easier.
- Bonus: A clamp or tripod helps secure the stand while you customize the piece
Wide-Tooth Comb or Detangling Brush
Use this to gently detangle the wig before and after conversion.
With these tools and materials, you’re fully equipped to begin your curly wig-to-topper transformation. Having the right setup ensures your topper is secure, natural-looking, and comfortable for daily wear.
Step-by-Step: How to Turn Your Curly Wig Into a Topper At Home
Ready to give your old curly wig a second life? Whether you’re dealing with thinning hair at the crown or simply want something lighter and more breathable than a full wig, turning your curly wig into a topper is a smart, cost-effective solution.
This easy DIY project lets you create a customized hairpiece that blends beautifully with your natural hair, no heat tools or professional skills required. Follow these simple steps to transform your wig into a wearable, natural-looking topper you’ll actually reach for every day.
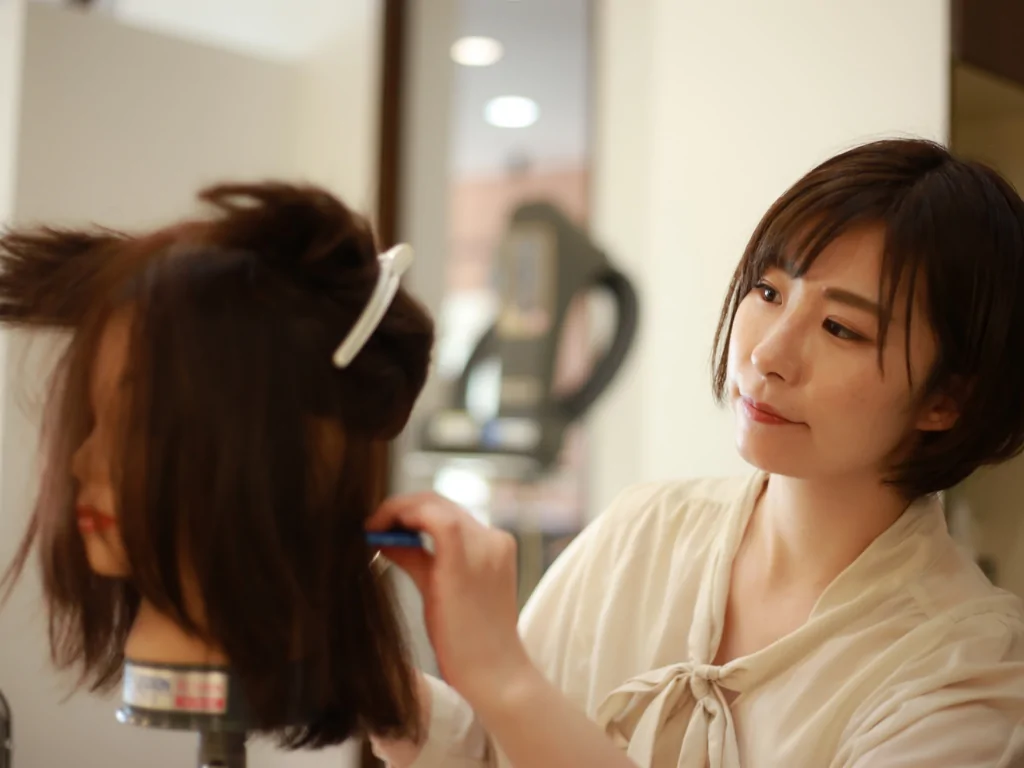
Step 1 – Choose the Right Wig
Step 2 – Section and Cut the Wig Cap
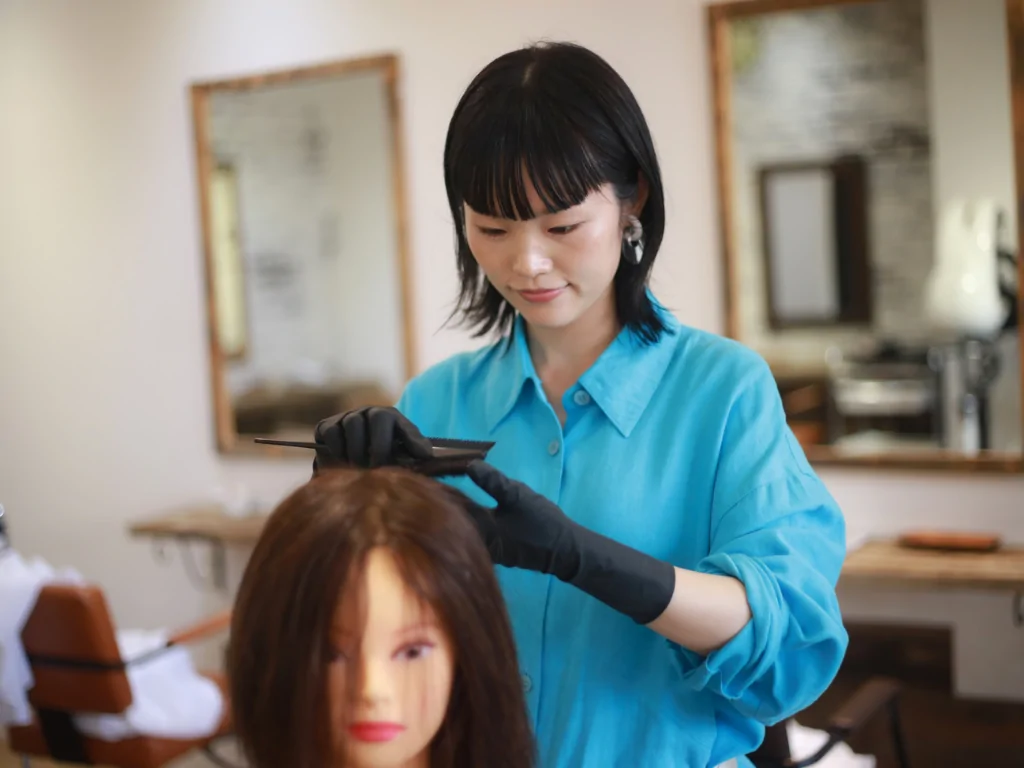
Place the wig on a mannequin head. Use scissors to cut away the parts of the cap you don’t need, typically the nape and sides. Keep only the crown and top sections that will sit on your head naturally.
Step 3 – Attach the Clips
Sew 3–5 clips evenly along the base of the cap. Place two at the front, two on the sides, and one in the back for balance. Ensure they’re sewn securely to avoid slipping.
Step 4 – Customise the Parting Area
Use tweezers to lightly pluck the part for a natural finish. You can add a lace patch or apply some concealer on the part line for a realistic scalp look.
Step 5 – Style Without Heat
You don’t need to be a professional hairstylist or use heat tools, learn how to turn your curly wig into topper without heat, using just a few tools at home. Define the curls by using a leave-in conditioner and scrunching gently with your fingers. Avoid heat to maintain the curl pattern. A diffuser on cool air can help if you’re in a hurry.
How Do You Make A Wig Topper Look Natural?
Transforming a curly wig into a topper is just the first step, making it look natural and feel secure is what truly elevates your style. Follow these expert tips to ensure your DIY topper blends flawlessly and stays in place all day:

Blending With Your Natural Hair
A convincing topper starts with a seamless blend between your real hair and the hairpiece. Here’s how to achieve that:
- Leave Out the Right Sections: Leave some of your natural hair out along the hairline and parting area. This helps mask the edge of the topper and makes the transition look seamless.
- Match the Texture: Make sure your natural curls or waves are defined and moisturized to match the wig’s texture. Use curl cream or mousse on both to harmonize the patterns.
- Tame Flyaways: Use edge control or gel to smooth your hairline and keep baby hairs in place, enhancing the illusion of a natural scalp.
Avoiding the “Helmet Look”
One common beginner mistake is creating too much volume or bulk, making the topper sit awkwardly or unnaturally. Here’s how to keep it sleek and realistic:
- Trim the Wig Base to Fit: Avoid leaving too much of the original wig cap intact. Cut it down to just cover the crown or area that needs volume.
- Use Just Enough Clips: Adding too many clips can make the topper bulky and uncomfortable. Stick to 3–5 clips, and place them strategically for balance.
- Flatten the Base: Ensure the base lies flat against your scalp. You can lightly press it with your hand or sew the edges tighter for a snug fit.
Keeping the Curls Bouncy and Defined
Defined curls make your topper look alive and luxurious. To maintain their shape and bounce:
- Moisturize Regularly: Lightly mist the hair with a water spray bottle, then scrunch in leave-in conditioner or curl activator cream to refresh the curls.
- Detangle Gently: Use your fingers or a wide-tooth comb to detangle from ends to roots. Avoid brushing dry curls as this causes frizz and ruins the curl pattern.
- Air-Dry or Use a Cool Diffuser: If the curls need a boost, use a blow dryer with a diffuser on a cool setting to enhance curl definition without heat damage.
Bonus Tip: Try Root Concealer for Realism
If your topper has a visible part, lightly spray a root concealer that matches your scalp or natural hair color along the parting. This helps make the base look more like real skin.
Common Mistakes to Avoid When Turning Your Curly Wig Into a Topper
Converting a curly wig into a topper is a great DIY solution, but it’s also easy to make a few missteps that can affect the final look, comfort, and durability. Here’s a breakdown of the most common mistakes and how to avoid them:
Overcutting the Base
The Mistake: Many first-time DIYers get excited and trim too much off the wig cap too quickly, especially around the sides or nape.
Why It’s a Problem: Overcutting can lead to poor fit, uneven shape, and lack of stability. It may also leave you with too little structure to securely sew on clips or ensure the topper lays flat.
How to Avoid It:
- Always measure twice, cut once. Place the wig on a mannequin or your head and mark the exact area you need before trimming.
- Start with a larger section and slowly reduce it as needed, it’s easier to cut more than to fix what’s already gone.
- Use fabric scissors for a clean edge and better control.
Incorrect Clip Placement
The Mistake: Attaching clips randomly or too close to weak areas of your natural hair can cause discomfort or even damage.
Why It’s a Problem: Poor clip placement can make the topper unstable, shift during wear, or pull on delicate hair strands, leading to breakage or traction alopecia.
How to Avoid It:
- Position clips near areas with dense, strong hair that can support the weight of the topper.
- Avoid placing clips directly along your hairline or on fragile edges.
- Use 3 to 5 clips max, spaced evenly: two at the front, one at the back, and one on each side for balance.
- Consider silicone-lined clips for better grip and scalp comfort.
Skipping the Curl Refresh Routine
The Mistake: Once converted, some users forget to care for the curls the same way they would with a full wig or natural hair.
Why It’s a Problem: Unrefreshed curls lose their bounce and shape over time, making the topper look dry, tangled, or unrealistic. This can ruin the natural blend with your own hair.
How to Avoid It:
- Use a water spray bottle to lightly dampen curls before styling.
- Apply a curl cream, mousse, or leave-in conditioner to redefine and moisturize the curls.
- Detangle gently using fingers or a wide-tooth comb, starting from the ends.
- Air-dry the topper or use a diffuser with cool air only to avoid heat damage, especially on synthetic hair.
Bonus Tip: Don’t Skip the Try-On Test
Before finalizing the cut or clip placement, try on your topper and adjust. This trial run helps identify areas that need reshaping, extra trimming, or repositioning, saving you from permanent mistakes.
Best Curly Wig Types for DIY Toppers
Choosing the right wig is one of the most important steps in turning a curly wig into a natural-looking topper. The hair type, curl pattern, density, and construction all play major roles in how well your topper blends with your natural hair and performs in daily use. Below is a breakdown to help guide your decision.
Human Hair vs. Synthetic: What’s Right for You?
Human Hair Wigs
Ideal for: A long-lasting, realistic, and versatile topper
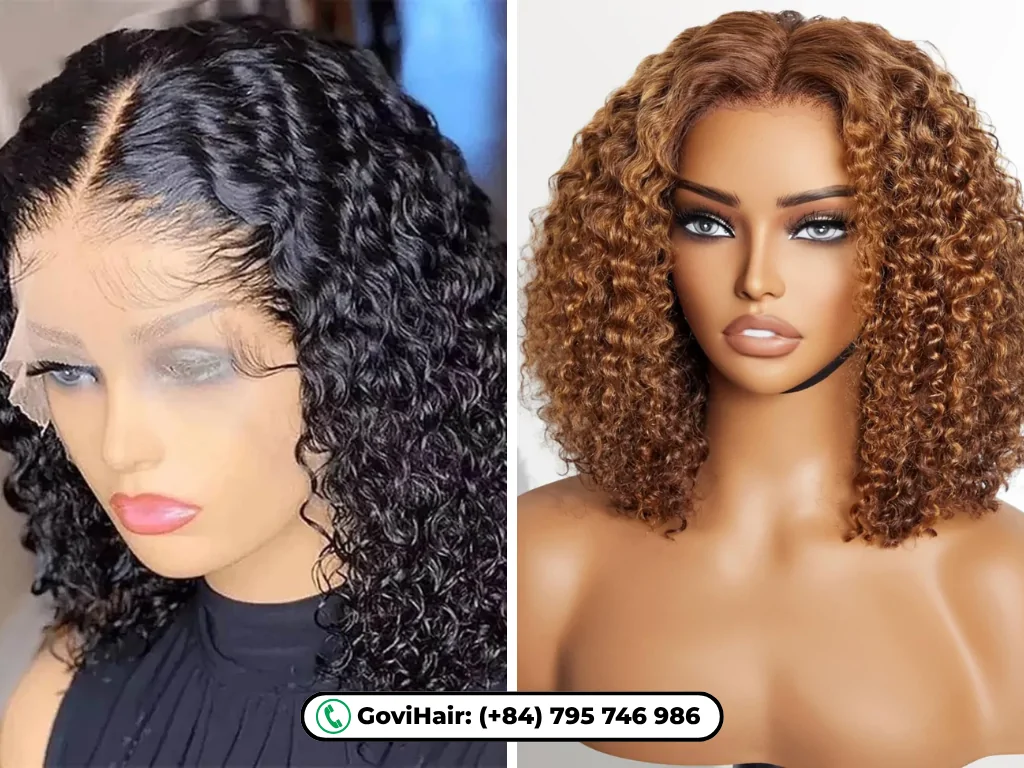
- Advantages: Human hair wigs offer the most natural appearance and feel. They can be washed, conditioned, styled with heat, and even dyed. This makes them perfect for long-term use and personalized styling.
- Considerations: They come at a higher cost and require more maintenance to keep them looking their best. However, they provide the most freedom and realism.
Synthetic Wigs
Ideal for: Short-term use, budget-conscious buyers, or beginners
- Advantages: Synthetic wigs maintain their curl pattern with little effort and are more affordable. They’re low-maintenance and come pre-styled.
- Considerations: Most synthetic wigs cannot be heat-styled, and some may have an unnatural shine. They are also less durable and more difficult to blend seamlessly with natural hair.
Tip: For better results with synthetic options, opt for heat-friendly synthetic wigs with a realistic matte finish and soft fiber texture.
>> Read More: Differences Between Human Hair Bob Wigs and Synthetic Wigs
Maintenance Tips for Your DIY Curly Hair Topper
Once you’ve turned your curly wig into a topper, proper maintenance is key to keeping it looking fresh, natural, and long-lasting. Follow these care tips to preserve the curls and protect your investment.
Clean Gently and Infrequently
- Wash your topper every 2–3 weeks or when buildup occurs.
- Use sulfate-free shampoo and hydrating conditioner specifically formulated for curly or textured hair.
- Always detangle before washing using a wide-tooth comb or your fingers to avoid shedding.
Air Dry to Preserve Curl Pattern
- After washing, blot gently with a microfiber towel, never rub.
- Let it air dry on a wig stand to help the curls keep their shape and avoid frizz.
- Avoid blow drying unless using a diffuser on a cool setting.
Moisturize Regularly
- Use a leave-in conditioner or curl refresh spray to keep the hair hydrated between washes.
- A light mist of water and conditioner helps revive curls and prevent dryness.
Store Safely
- When not in use, store your topper on a wig stand or in a satin/silk bag to maintain its shape and protect it from dust and tangles.
- Avoid direct sunlight or heat exposure during storage.
Minimize Heat and Product Buildup
- If your topper is made from human hair, limit heat styling to prolong the life of the curls.
- Use lightweight styling products to avoid heavy buildup that can weigh the hair down or damage the lace base.
>> Explore Now: Bob Wig Care: Ultimate Guide Maintain Bob Wig Longevity and Style
Why Choose GoviHair for Your Curly Topper Base
At GoviHair, we’ve been crafting high-quality human hair products right from our factory in Vietnam. We specialize in 100% natural Vietnamese hair, known for its strength, softness, and natural luster. Whether you’re looking to add volume, cover thinning areas, or simply get creative, GoviHair gives you salon-grade hair at factory-direct prices.
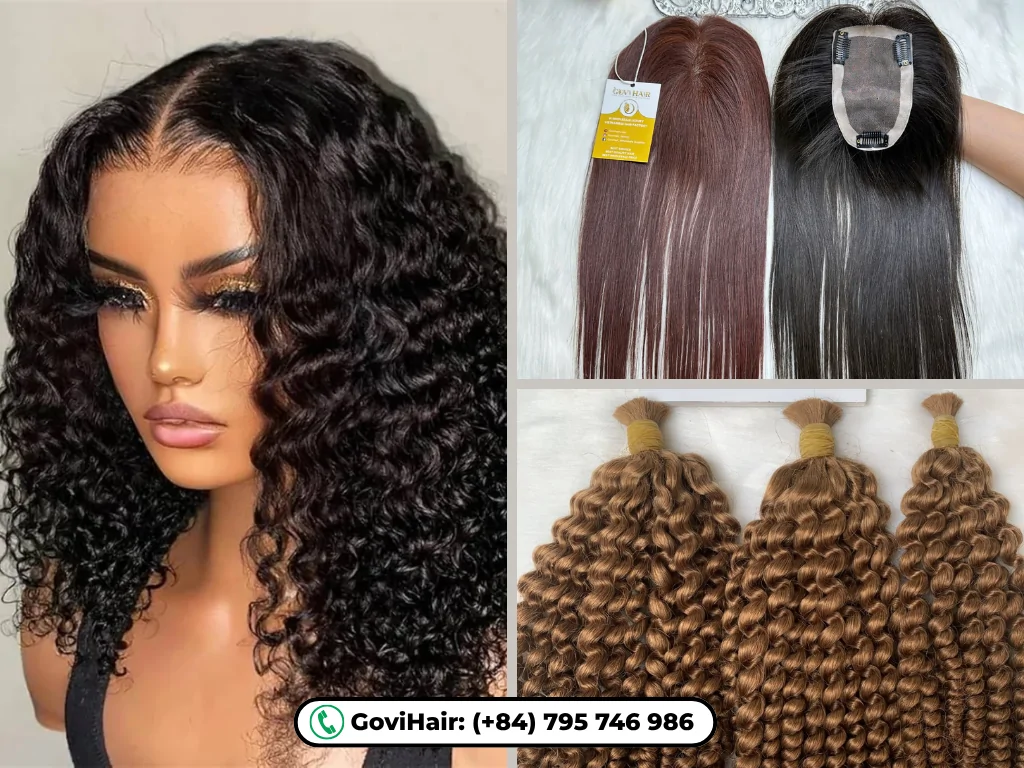
With fast global shipping and flexible customization options, it’s easy to find the right curly base that blends naturally and wears comfortably all day.
>> Discover GoviHair’s Premium Collections
Chat With Us:
- WhatsApp: (+84) 795 746 986
- Email: [email protected]
- Instagram: govihair_factory
- TikTok: govihairvietnam_official
- Website:govihair.com
Conclusion: Is It Worth Learning How to Turn Your Curly Wig Into Topper?
If you’re wondering whether it’s worth learning how to turn your curly wig into topper, the answer is yes, especially if you want more flexibility, comfort, and volume without buying a brand-new hairpiece.
By repurposing a wig you already love, you save money, get a better fit, and enjoy a lightweight, breathable alternative to full wigs. With the right tools, textures, and a little DIY effort, you can create a topper that blends seamlessly with your natural hair, all without using heat.




 Ms. Rosie