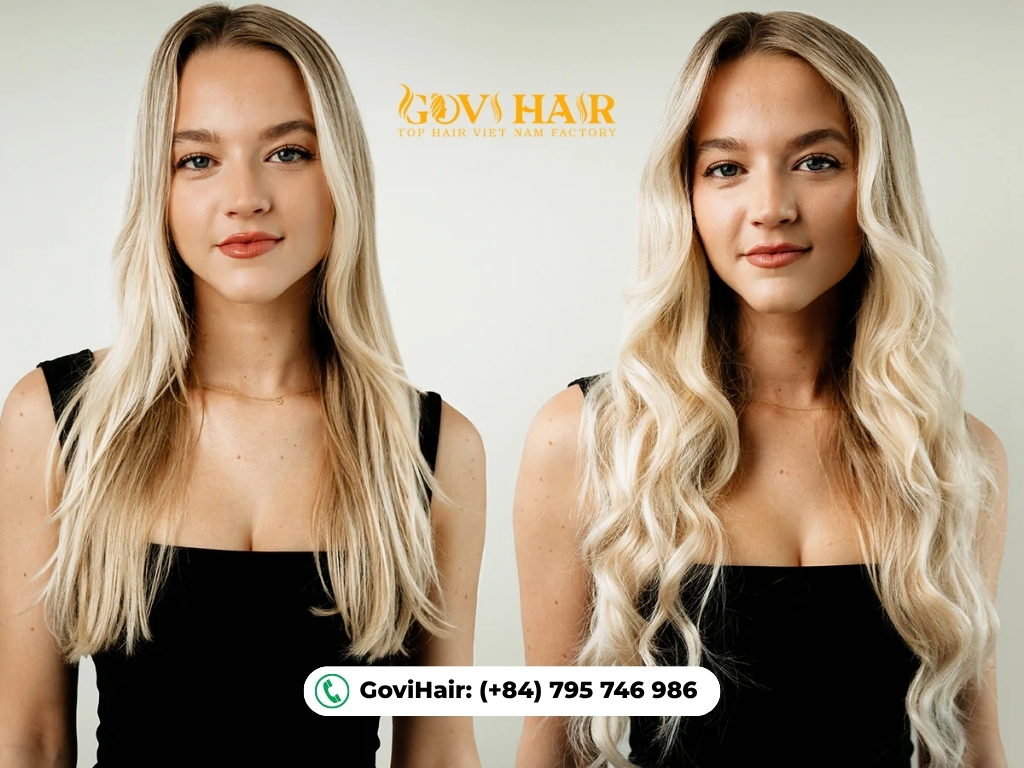
Dreaming of voluminous, luscious locks but struggling with fine or thin hair? You’re not alone. For many, achieving that dream volume feels like an impossible task. But what if Govihair told you there’s a simple, damage-free solution to instantly boost your hair’s body and length? Enter clip-in hair extensions.
This blog from Govihair will walk you through everything, from choosing the right clip in to how to put in clip in extensions for thin hair and transform your look with confidence.
Why Clip-in Extensions Are a Perfect Choice for Thin Hair
When it comes to adding volume, clip-in extensions are an excellent choice, particularly compared to permanent methods like tape in hair extensions or micro ring extensions.
Especially for those with thin or fine hair, clip-in extensions are the perfect solution to add instant volume and length. They are lightweight, safe, and non-permanent, so you can put them on or take them off whenever you like without the use of glue, heat, or chemicals.
How To Prepare For Clip In Extension Application?
Before exploring how to put in clip in extensions for thin hair yourself, preparation is the most crucial step to ensure the wefts are perfectly concealed and won’t slip out.
Choose the right clip-in extensions for thin hair
This is the most important step. Choosing the wrong extensions can make them difficult to hide and may pull on your natural hair.
- Weight matters: Go for a lightweight set, around 100g–120g.
- 100% Remy human hair: This means all cuticles are aligned in the same direction, keeping the hair smooth, shiny, and tangle-free.
- Go for “seamless” wefts: Seamless clip-in extensions have a thin silicone base that lies flat against the scalp, making them easier to conceal and more comfortable to wear.
- Perfect color match: Match the extensions to the mid-lengths and ends of your hair, not the roots. If you’re between shades, choose the lighter one — it blends more naturally.
Essential tools you’ll need
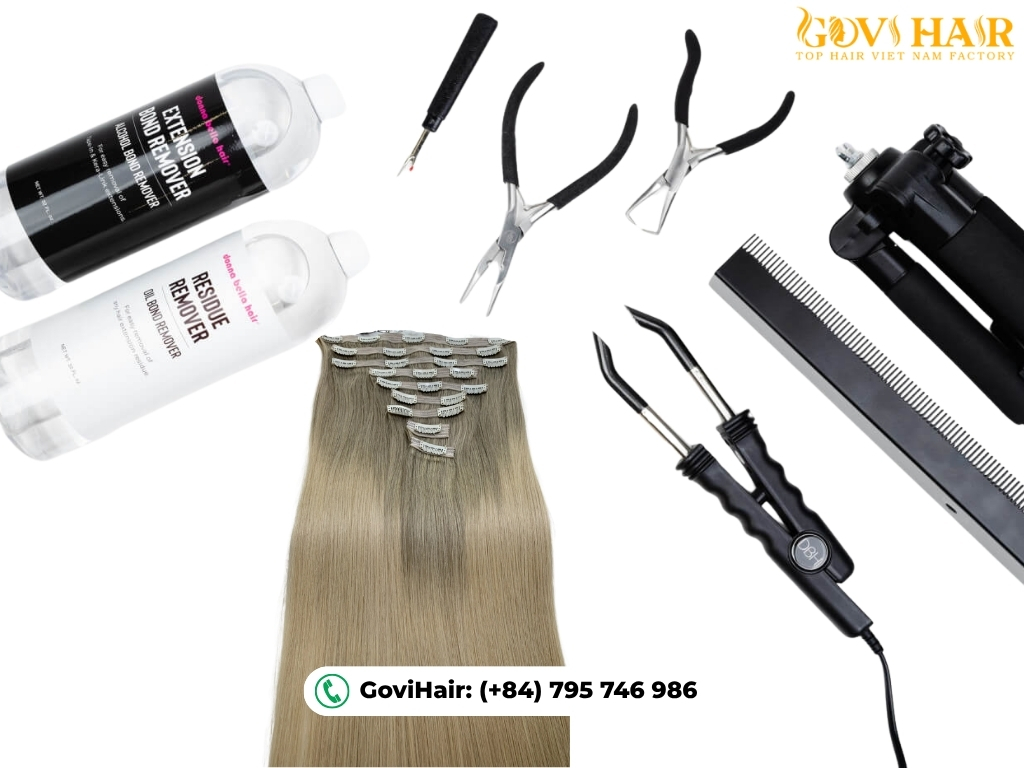
These are essential tools you’ll need for how to put in clip in hair extensions for thin hair at home more easily:
- Your clip-in hair extensions
- Sectioning clips or hair ties
- Large hair clips to hold sections of hair in place
- A rat-tail comb for clean sectioning
- A volumizing or texturizing spray
- A mirror
>>Read More: How Do Clip In Hair Extensions Work? A Beginner’s Guide
Step-by-Step Guide: How to put in clip in extensions for thin hair
Ready to transform your look with fuller, more natural hair? Follow this detailed guide on how to put in clip in extensions for thin fine hair without damage — an easy, step-by-step process you can do at home to achieve beautiful volume while keeping your natural hair safe.
Step 1: Get Your Hair Ready
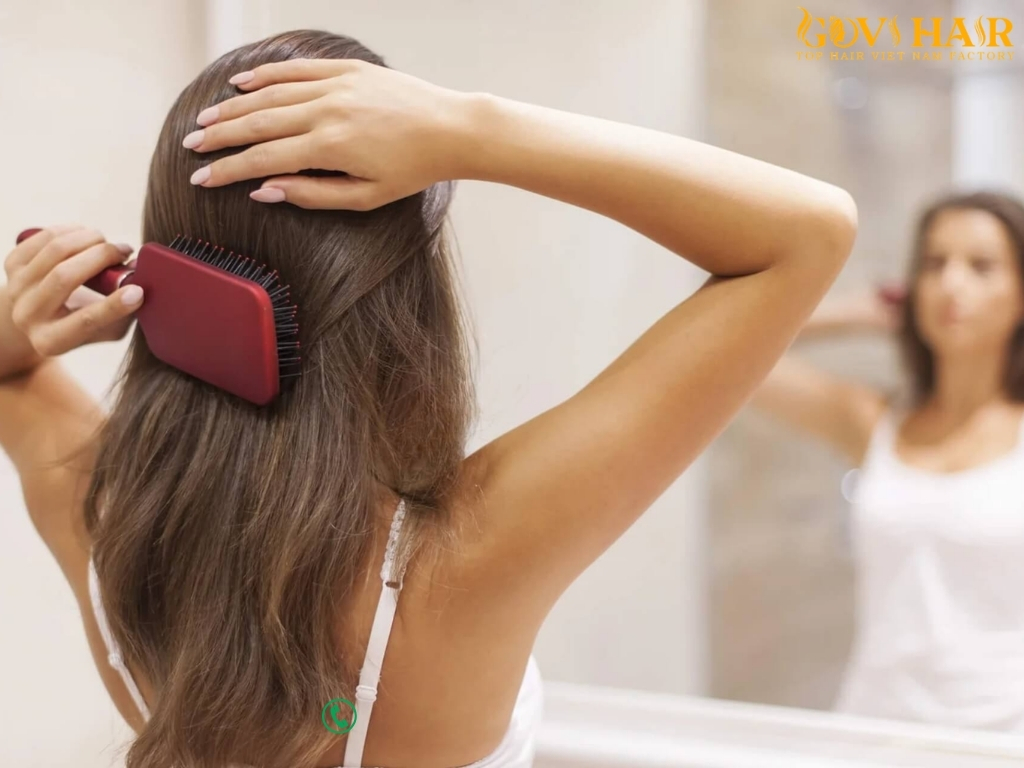
Wash and dry your natural hair. Brush gently to remove knots.
Step 2: Section the Hair
Using a tail comb, divide your hair into a horizontal section beginning at the nape.. Pin the upper layers out of the way.
Step 3: Add Grip (Optional)
If your hair is very silky or fine, lightly tease the roots. This creates a base for the clips to hold securely.
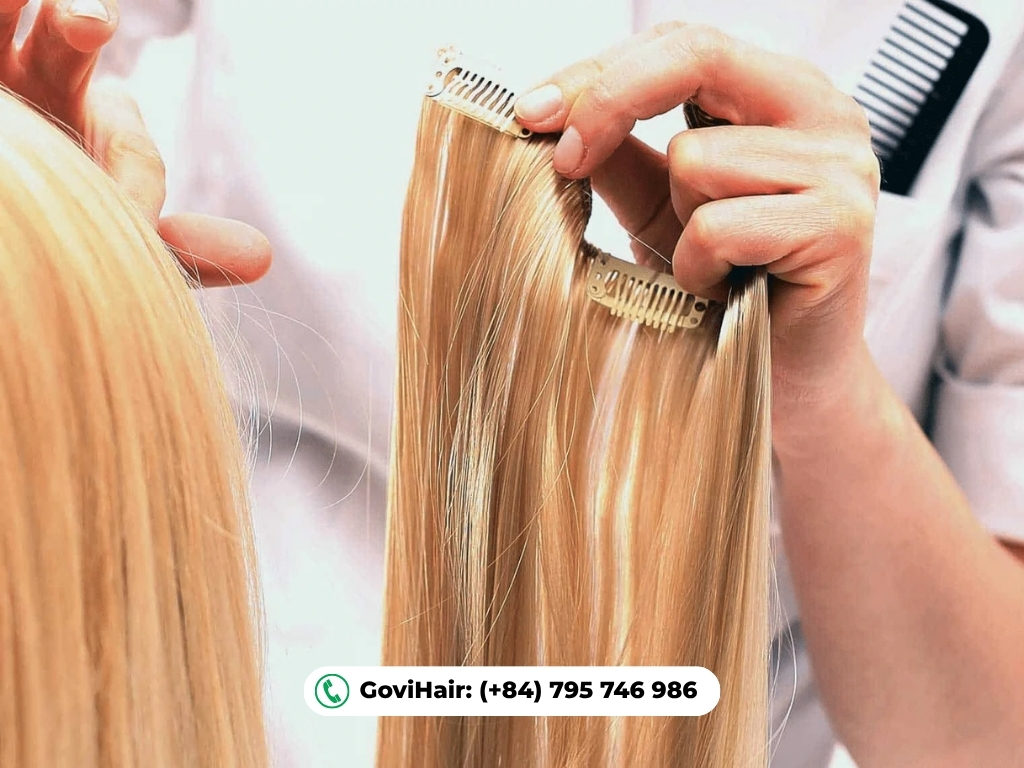
Step 4: Clip Them In
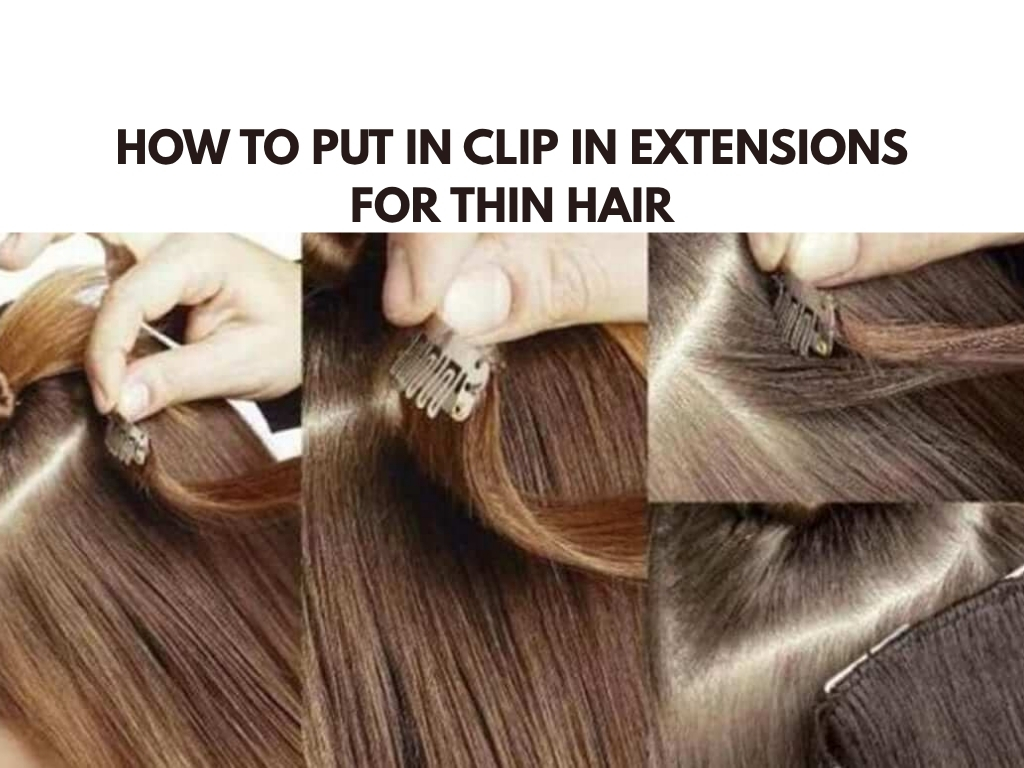
Open each clip and attach it close to the scalp. Press down until you hear a snap.
Step 5: Blend with Natural Hair
Release the upper sections of your hair and let them fall over the extensions. Brush gently for a seamless look.
Step 6: Style
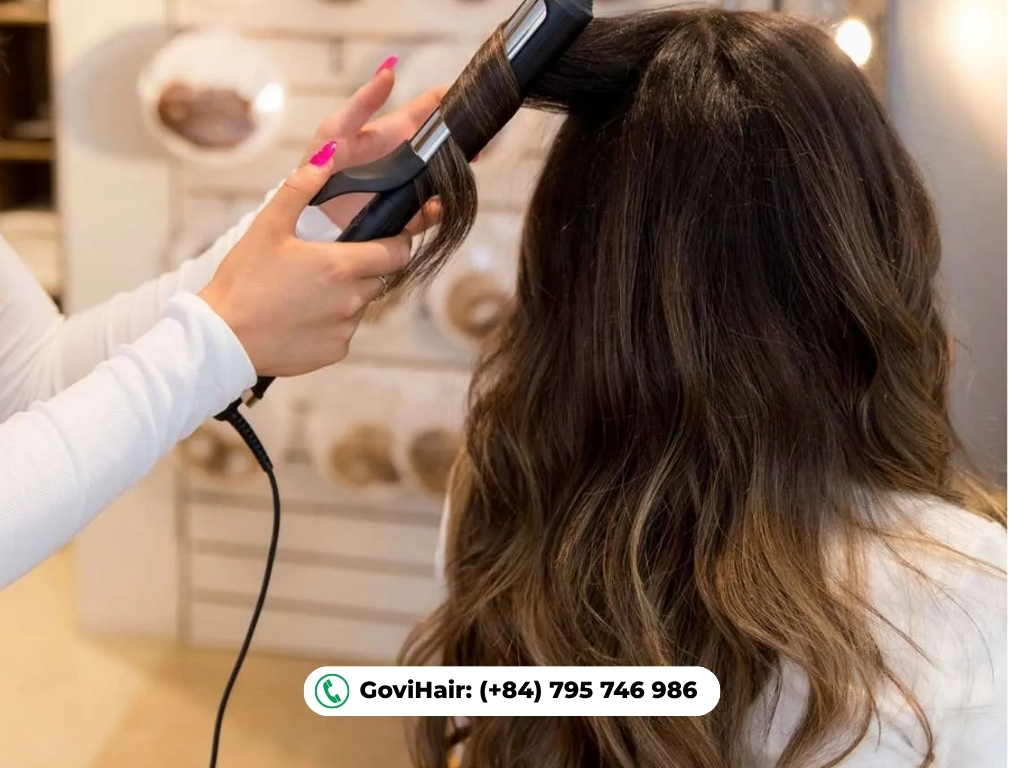
Straighten, curl, or wave as you prefer. Always apply a heat protectant when styling.
>>Read more: How to Put in Clip in Extensions Easy at Home?
Styling secrets for a natural look with clip in extensions
Aside from mastering step by step how to put in clip in extensions for thin hair, styling techniques play a crucial role for those with thin hair wearing clip-in extensions. The right styling approach helps you learn how to hide hair extensions in thin hair effortlessly, creating a look that’s beautifully natural and seamlessly blended.
Add Loose Waves: The Secret Weapon for Seamless Blending
Straight hair can easily reveal the attachment points. Loose or soft waves create a smooth, natural transition between your real hair and the extensions. That’s why it’s best to curl your natural hair and the extensions together for a perfectly blended look.
Lightly Trim Layers for a Softer Transition
If your extensions are much longer than your natural hair, ask your stylist to lightly trim and layer them. This creates a gradual flow and removes any harsh line between the two lengths.
Use Shine and Smoothing Products
A shine spray or nourishing serum helps both your natural hair and extensions look healthy, smooth, and consistent in texture—giving your hairstyle a polished and natural finish.
Common Mistakes to Avoid When Applying Clip In Extensions With Thin Hair
Avoid these pitfalls to ensure your hair extensions look flawless, natural, and stay secure:
Placing clips too close to the crown
This is a common error. Placing clips too close to the crown will reveal the wefts because thin hair lacks the density to cover them.
Solution: The 5cm Rule.
Always leave at least 5cm of natural hair from the crown and top hairline down. This provides enough coverage to hide the clip in hair extensions if you have thin hair on top.
Choosing extensions that are too heavy
Overly heavy extensions will pull on your natural hair, causing discomfort and potentially leading to damage or hair loss.
Solution: Opt for Lightweight. Choose a lightweight set (120-150 grams). Prioritize seamless clip in hair extensions with thin wefts to minimize stress on your thin hair.
Skipping the teasing step, causing slippage
Teasing is the “anchor” for the clips. If you skip this, the clips are very likely to slip out of fine hair, especially if you have fine hair.
Solution: Tease and Anchor. Before clipping, lightly tease the roots with a rat-tail comb and spritz a small amount of volumizing spray. This secures the clips tightly.
Aftercare And Maintenance For Clip In Extensions
Caring for your clip in extensions is just as important as putting them in.
Washing and Conditioning
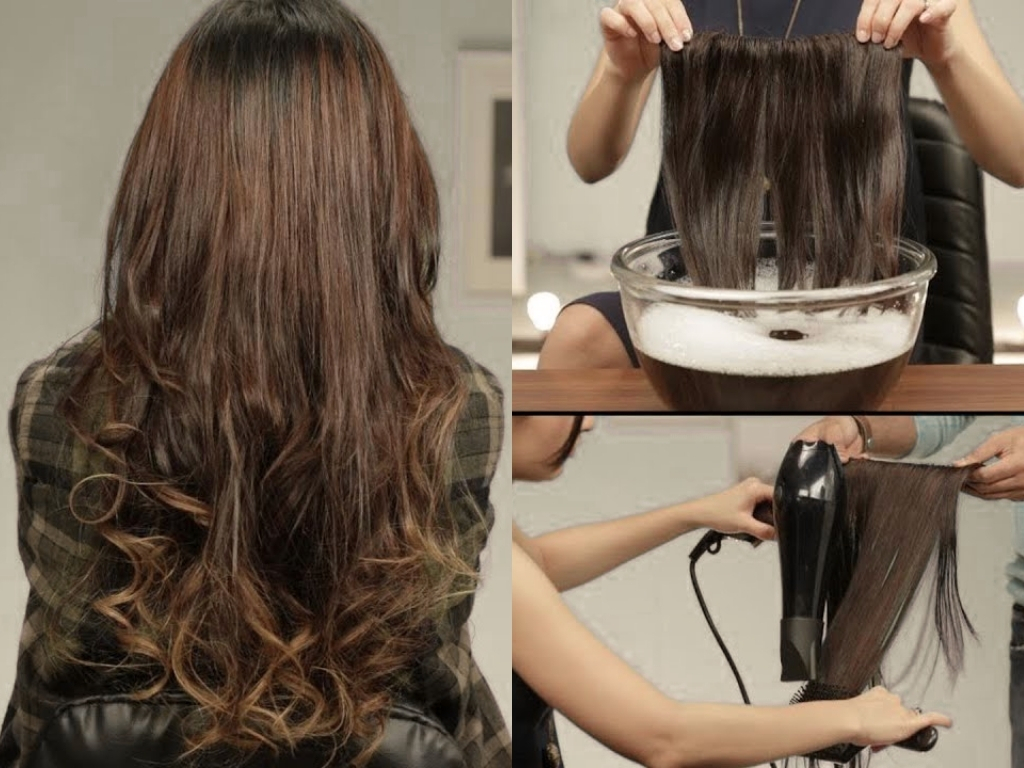
Always remove the extensions before washing your hair. Use sulfate- and paraben-free shampoo. Wash gently in a downward motion. Always condition from the mid-lengths to the ends to maintain moisture.
Drying and Styling
Set the extensions flat on a towel and leave them to air dry.. If you must blow dry, use a cool or low-warm setting. Use an extension brush and start brushing from the ends.
>>Explore more: Do Clip In Extensions Damage Hair? Expert Advice & Tips
Where To Buy Clip In Extensions?
To ensure quality and safety, seek out reputable brands with positive user reviews, such as Govihair, Yoghair that offer 100% Remy human hair, have a clear return and exchange policy, and provide detailed information on the product’s weight and length so you can choose the set that is most suitable for your hair type.
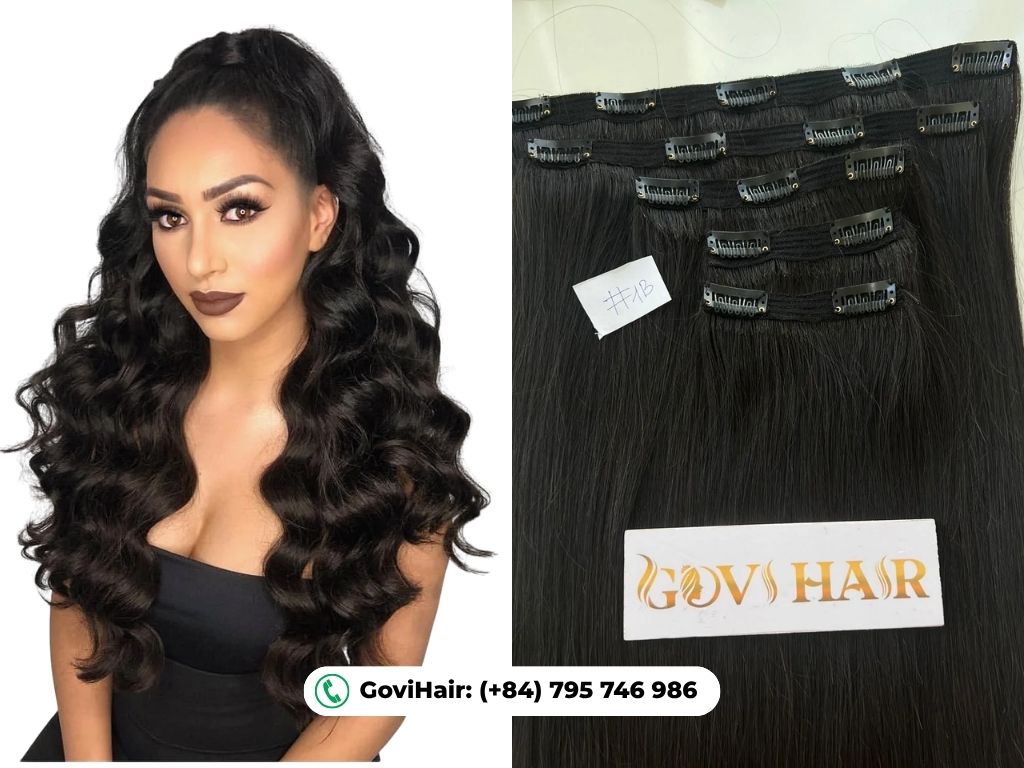
Clip-in Hair Extensions at GOVIHAIR are crafted from 100% human hair, ensuring a soft, natural texture that’s completely tangle-free and shed-free. Available in lengths ranging from 8” to 32”, these extensions come in multiple textures—straight, bone straight, wavy, and curly—to suit every style preference. You can choose from a wide variety of colors, including natural black clip in hair extensions, rich dark tones like brown, burgundy, and wine red, as well as light shades such as blonde and grey. Custom colors are also available upon request.
Designed for comfort and convenience, GOVIHAIR clip-ins are lightweight, easy to wear all day, and can be clipped in or removed effortlessly. They blend seamlessly with your natural hair, providing instant length and volume without causing any damage.
We offer global shipping via DHL, FedEx, and UPS (delivery within 7–9 days), with a minimum order quantity starting from 300 grams—perfect for testing quality. Production time typically takes 7–10 days, depending on the order details.
With GOVIHAIR Clip-in Extensions, you can achieve a fuller, thicker, and more voluminous hairstyle instantly—beautiful, natural, and completely damage-free.
Chat with Us:
- WhatsApp: (+84)795 746 986
- Email: [email protected]
- Instagram: govihair vietnam factory
- Tik Tok: govihairvietnam_official




 Ms. Victoria