Do you want a perfectly customized hair topper for just a fraction of the cost of buying one pre-made? This detailed A-Z guide from Govihair will walk you through how to make a hair topper perfectly right at home. Get ready to discover the DIY lace hair topper for beginners step by step to achieve the thick, natural, and affordable hair you’ve been looking for.
Why Should You Make Your Own Hair Topper?
Significant Cost Savings Compared to Buying Pre-Made
High-quality human hair toppers from reputable brands can be very expensive. This price reflects not only the cost of materials but also skilled labor and brand markups. By taking on the project yourself, you primarily pay for the raw materials, which significantly reduces the overall cost while still achieving a high-quality result.
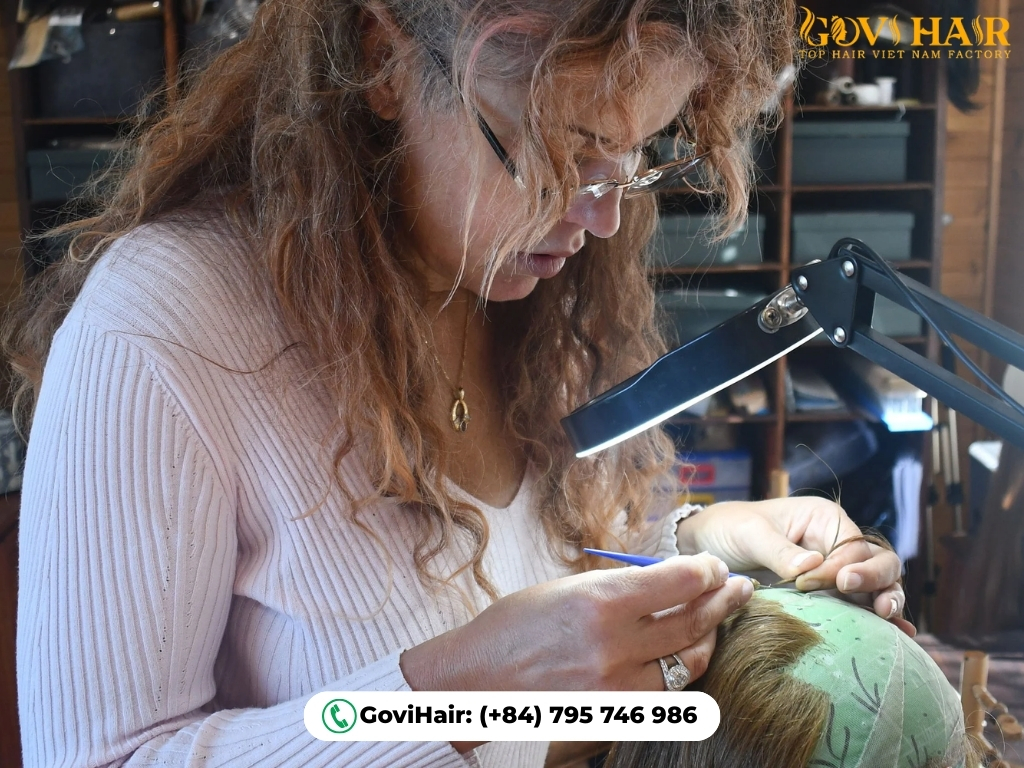
Perfect Customization: Color, Density, Size, and Style
When you make it yourself, you have complete creative control to ensure the piece blends seamlessly and undetectably with your real hair. You can perfectly customize:
- Color: Match your exact hair color, including any unique highlights, lowlights, or root colors.
- Density: Choose a hair density that matches your own, avoiding a look that is too bulky or too thin.
- Size and Shape: Create a base that is shaped to the exact pattern of your thinning area, providing coverage only where you need it.
- Style: Select the exact hair texture (straight, wavy, curly) and length you desire from the very beginning.
This level of personalization is the key to a truly natural look that pre-made options can rarely match.
A Fun and Rewarding DIY Project
Beyond the practical benefits, creating your own hair topper is also an incredibly rewarding experience, and you’ll feel proud using a beautiful, useful product made with your own hands. Furthermore, it allows you to be creative while learning a valuable new skill.
What Do You Need To Make A Hair Topper At Home?
Before learning how to make a hair topper from scratch , gathering the complete and correct set of materials is the most important step, accounting for 50% of your success. But if you’re wondering” what do I need to make a hair topper at home ?”, don’t worry, we’ve broken the list down into three clear sections to make it easy for you to follow.
The Base: The Soul of Your Topper
There are three common types:
Lace Base:
- Pros: Very thin, breathable, and nearly “disappears” when placed on the scalp, creating a natural hairline.
- Cons: More delicate and requires careful handling.
Silk Base:
- Pros: Extremely natural at the parting, as no knot bleaching is needed.
- Cons: Thicker, less breathable than lace, and has a higher cost.
Monofilament Base:
- Pros: The most durable of the three types, and soft.
- Cons: Slightly less natural at the hairline compared to lace.
Pro Tip: Beginners should choose a lace base (like HD or Swiss lace) for its versatility and the natural look it provides.
The Hair: The Deciding Factor for a Natural Look
- Human Hair: This is the best choice for a natural-looking and durable hair topper because you can dye, curl, straighten, and style it just like your own hair. It blends perfectly and has a long lifespan with proper care.
- Look for Remy Hair. This is a type of human hair where the cuticles are kept intact and aligned in the same direction, which helps prevent tangling and keeps the hair soft and smooth.
- Synthetic Hair: It is cheaper and holds its style well, but it cannot be heat-styled (except for special heat-resistant types), looks less natural, and has a shorter lifespan than human hair.
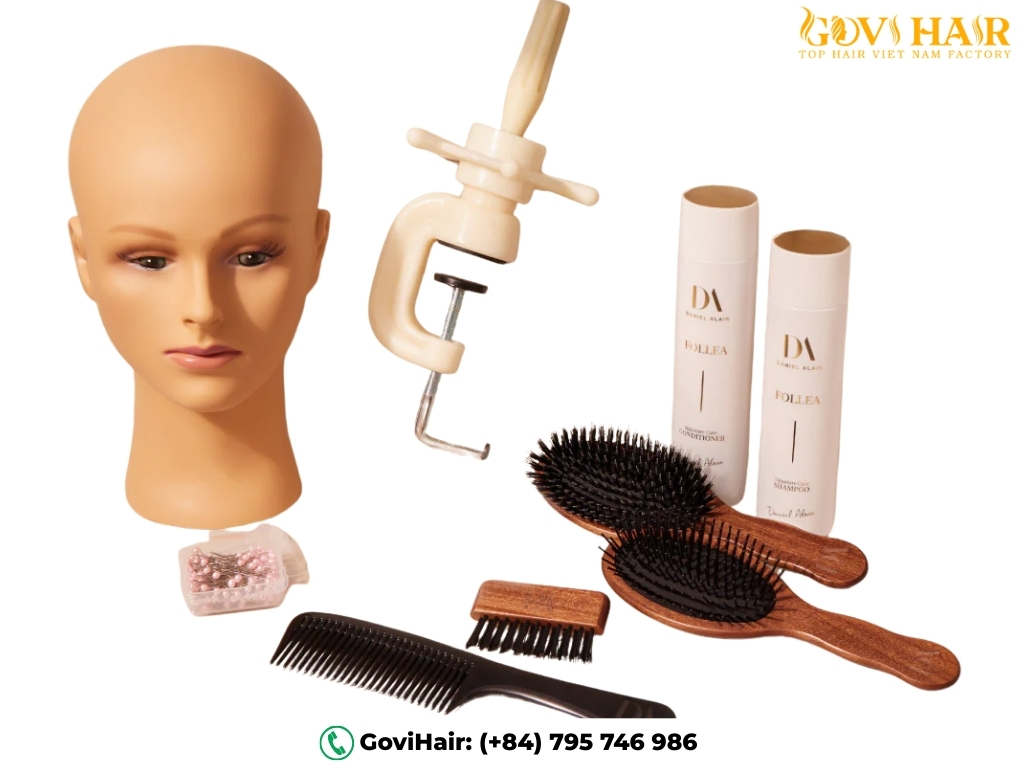
Essential Tools You Cannot Do Without
- Mannequin Head: To secure the base and work on it easily.
- Ventilating Needle/Hook: This is the most crucial tool, used to pull individual hair strands through the base and tie them into knots.
- Wig Clips: These small clips are sewn to the underside of the base to attach the topper to your natural hair.
- Curved Needle and Thread: Used to securely sew the wig clips onto the base.
- T-Pins: To firmly pin the base to the mannequin head.
- Sharp Scissors: For trimming the base and any excess hair.
- Measuring Tape: To accurately measure the area of thinning hair.
>> Read more: How to Turn Your Curly Wig Into a Topper For Beginners – Easy DIY Guide
A Step-by-Step Guide: How To Make A Hair Topper
Now that you have your toolkit, it’s time for the hands-on part. If you’re new to this, don’t worry. We’ve broken down the entire process of how to make a hair topper easily into five simple, detailed steps, making it easy for you to follow along:
Step 1: Measure and Shape Your Base
Accurately measure the area of thinning hair that needs coverage. Cut the lace base about 1-2cm larger than those measurements on each side, then use T-pins to secure it tightly to a mannequin head.
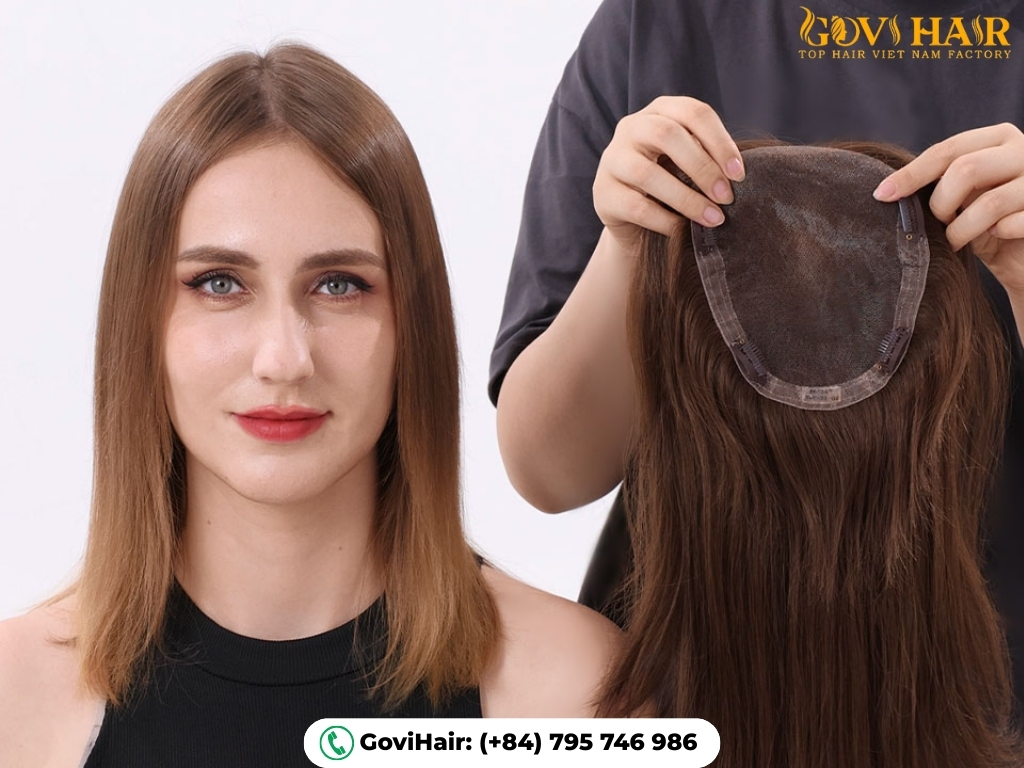
Step 2: Ventilate the Hair onto the Base
This is the most patience-requiring step when you how to make a hair topper from scratch. Using a ventilating needle, pull small strands of hair through the holes in the base and tie them into knots. Start from the back and work your way forward.
Step 3: Create a Natural Parting and Hairline
To create a natural parting and hairline, use single knots and a lower density in the front hairline area. The hair density should gradually increase towards the center.
Step 4: Securely Attach the Wig Clips
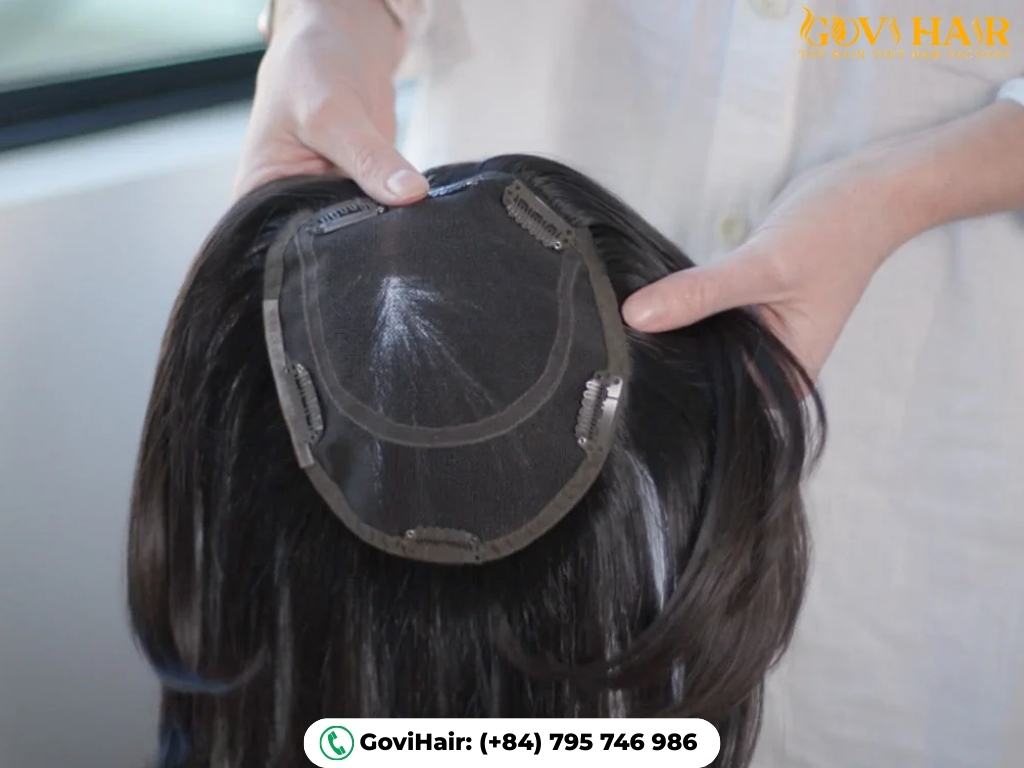
Sew about 4-5 wig clips to the underside of the base in strategic positions to ensure a secure hold. This step is crucial for anyone wanting to know how to make a hair topper with clips for thinning hair.
Step 5: Final Touches and Blending Cuts
Place the topper on your natural hair and use scissors to trim and blend it seamlessly with your own hair, creating a unified look.
>> Explore more: How to Put on a Hair Topper: A Step-by-Step Guide for Beginners
Pro-Level Secrets: How To Make A Hair Topper Look Natural
Knowing how to make a hair topper is not enough; the ultimate goal is how to make a human hair topper look real. Here are some tips to help your hair topper blend perfectly with your real hair, creating an undetectable look.
Plucking the Hairline
Carefully use tweezers to pluck a few strands of hair along the parting and hairline to create a natural, less dense effect, mimicking real hair growth.

Bleaching the Knots
For a lace base, bleaching the knots will help them “disappear” against the scalp.
Coloring the Roots
Coloring the roots on the topper a slightly darker shade than the lengths will create an effect of depth, making it look like the hair is growing directly from the scalp.
Best Care Tips For Your Homemade Hair Topper
How to Wash and Condition It Correctly
Gently wash with cool water and a sulfate-free shampoo. Always apply conditioner to the lengths and ends, avoiding the knots at the base.
Can You Use Heat to Style It?
If you used human hair, you can absolutely use heat to blow-dry, curl, or straighten it. Always spray a heat protectant layer before styling.
How to Store It When Not in Use
The best way is to place the topper on a mannequin head or in a storage bag to maintain its shape and prevent tangling.
When Should You Buy Instead of DIY?
While the DIY route is fantastic, it’s also important to be realistic. The process requires patience and time. Consider buying a pre-made topper if:
- You are on a tight deadline for an event.
- You prefer a guaranteed professional finish without a learning curve.
- You simply don’t have the time to dedicate to the project.
Remember to choose reputable hair brands such as Govihair for your best result.
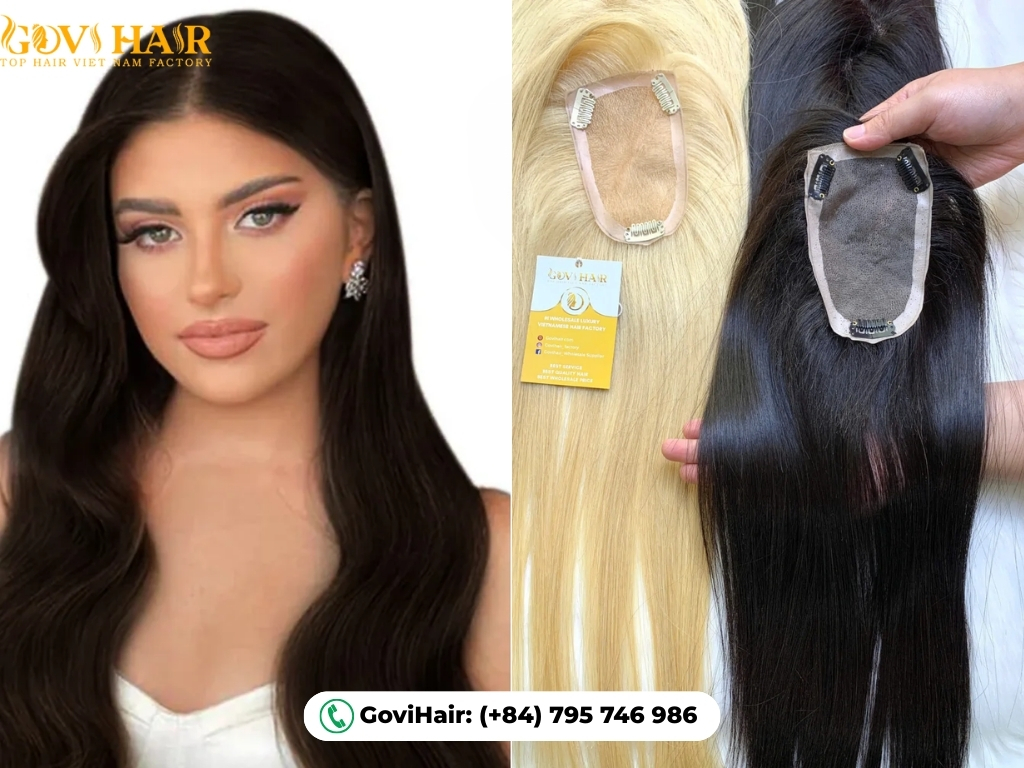
At GOVIHAIR, every topper is crafted from premium single-donor raw hair, ensuring the most natural look, soft texture, and long-lasting quality. This high-value hair can be bleached to light blonde shades and, with proper care, lasts up to five years. You can choose from various textures like Straight, Bone Straight, Wavy, or Curly, with Bone Straight and Natural Wavy being customer favorites. Colors and lengths (from 12 to 28 inches) are fully customizable to blend seamlessly with your natural hair.
Each topper is hand-knotted strand by strand over 8–10 days, creating a realistic finish and perfect coverage. Lace sizes vary from 4×4 to 7×9 inches to match different needs, with density options of 130%, 150%, or 180% for the desired volume. Available in both Mono Lace and Silk Base Lace, every detail can be tailored to your preference. GOVIHAIR ships internationally via DHL, FedEx, or UPS, ensuring safe and timely delivery straight to your door.
>> Discover GoviHair’s Premium Collections
Chat With Us:
- WhatsApp: (+84)795 746 986
- Email: [email protected]
- Instagram: gov hair vietnam factory
- Tik Tok: govihairvietnam_official
- Website: govihair.com
FAQs About How To Make A Hair Topper
How to make a hair topper from a wig?
You can absolutely repurpose an old wig into a handy hair topper. It’s very simple: place the wig on a mannequin, then draw and cut out the crown section to your desired size. The most crucial step is to fold over and sew the raw edge to reinforce it securely. Finally, you just need to attach a few specialized clips to the underside, and you’ll have a ready-to-wear topper that you can style to blend with your real hair.
Is it difficult to make a hair topper yourself? Do I need special sewing skills?
It requires patience more than advanced skill. You don’t need special sewing skills, but you will need to learn the basic “ventilating” (knotting) technique, which can be mastered with practice.
How to make a hair topper with clips for thinning hair?
The process is the same, but the final step is attaching clips. Once the hair is ventilated onto the base, simply sew 4-5 wig clips securely around the perimeter of the underside with a needle and thread.
How much does it cost to make a hair topper versus buying one?
DIY is significantly cheaper. You can often make a high-quality topper for a fraction of the retail price (sometimes 1/3 of the cost). The biggest expense will be the human hair.
Can I wash and style a DIY hair topper just like my own hair?
Yes, if you use human hair, you can wash, condition, and heat-style it just like your own. If you use synthetic hair, you can wash it gently, but heat styling is generally not possible.
Conclusion
You have now mastered the process of how to make a hair topper. While it requires patience, the result is a product that is entirely your own, saving you money and giving you a sense of pride. Don’t hesitate—start your project today!




 Ms. Victoria