Dutch braids have become a go-to hairstyle for those seeking a bold, versatile look that effortlessly blends style and practicality. Whether you’re working with short, fine hair or aiming to experiment with vibrant colors and textures, hair extensions for Dutch braids elevate this classic style to new heights. Let’s discover Govihair’s guide to hair extensions for Dutch braids, how to braid hair with extensions for beginners, and creative ways to make your braids stand out in 2025.
Why Choose Hair Extensions for Dutch Braids?
Dutch braids are a standout hairstyle, known for their bold, raised appearance and incredible versatility. When paired with hair extensions for Dutch braids, this classic style transforms into something even more striking, offering enhanced volume, length, and creative possibilities. Whether you’re aiming for a casual, sporty vibe or a glamorous look for a special occasion, human hair extensions for Dutch braids elevate the style in ways that make it a top choice for hair enthusiasts. Below, we explore the key reasons why this combination is a game-changer for your hairstyle repertoire.
- Enhanced Fullness: This style adds significant volume, making your braids look thicker and more defined, especially if you have fine or thin hair.
- Perfect for Short Hair: Extensions provide the extra length needed to create full, dramatic braids, even if your natural hair is shoulder-length or shorter.
- Consistent Thickness: With extensions, your braids maintain an even, robust appearance from scalp to ends, avoiding the tapered look of natural hair alone.
- Color Experimentation: Human hair extensions for Dutch braids allow you to play with vibrant colors or subtle highlights without dyeing your natural hair, perfect for temporary style changes.
- Customizable Lengths: Choose extensions in various lengths to craft long, flowing braids or shorter, structured styles to suit your vibe.

- Occasion-Ready Looks: From festivals to workouts to weddings, Dutch braids with extensions adapt effortlessly, offering everything from boho-chic to sleek and polished aesthetics.
- Long-Lasting Hold: With proper care, these braids stay neat and secure for days, minimizing the need for daily styling or touch-ups.
- Low Maintenance: Extensions make it easier to maintain a polished look, as they resist frizz and hold their shape better than natural hair alone.
- Head-Turning Style: The raised, intricate design of Dutch braids creates a bold, eye-catching look that stands out.
- Seamless Blending: High-quality extensions blend naturally, giving the illusion of effortlessly thick, healthy hair that boosts your confidence.
Selecting the Perfect Hair Extensions for Dutch Braids
Extension Types for Braiding
The type of extension impacts the ease and outcome of Dutch braids. Clip in hair extensions for dutch braids offer a quick, temporary solution, perfect for adding volume and length for a single event. They attach easily at the roots, blending well for short-term styles. Tape-in extensions provide a semi-permanent option, lying flat for a natural look and lasting several days. Sew-in extensions are ideal for secure, long-term wear, handling the tension of tight braids. Consider your styling goals and wear duration when choosing the best type.

Matching Texture and Color
To achieve cohesive Dutch braids, it’s essential that your extensions match both the texture and color of your natural hair, If you have fine or straight hair, sleek extensions will blend seamlessly. For curly or kinky hair, choose extensions with similar coils or waves for a uniform appearance. Color matching enhances the natural finish-opt for an exact match or subtle variations to mimic highlights. For a bold, creative look, try ombre or vibrant-colored extensions. Always test the blend in natural lighting to ensure it matches perfectly.
Length and Volume Needs
Extensions around 16 inches offer a balanced length for dramatic yet manageable Dutch braids. For shorter hair, 18-inch extensions add extra length for fuller braids. Volume is key for the raised effect of Dutch braids, so choose extensions with thicker wefts to enhance density without overwhelming your natural hair. Balance volume to avoid uneven tension and ensure comfortable braiding.

Durability and Comfort
High-quality extensions are built to withstand the tension of braiding without slipping or fraying.
- Clip-ins should have sturdy clips to prevent movement.
- Tape-ins need strong adhesive for secure placement.
- Sew-ins require precise installation for comfort and longevity.
Lightweight extensions reduce scalp strain, helping prevent damage like traction alopecia. Distribute extensions evenly to maintain comfort, especially for long wear.
Preparing Your Hair and Extensions
Follow these steps to prepare your hair and extensions for Dutch braids, ensuring a smooth process and a polished result.
- Detangle Your Natural Hair: Begin with clean, dry hair to establish a smooth foundation for braiding. Gently remove knots using a wide-tooth comb or a detangling brush, starting from the ends and working your way up to the roots. This method helps prevent breakage and makes your hair more manageable when adding extensions. If your hair tangles easily, apply a light leave-in conditioner to soften strands and simplify the detangling process.

- Brush Your Extensions: Before installing your hair extensions, carefully brush them to eliminate any tangles. Use a soft-bristle brush or a comb specifically made for extensions to protect the fibers from damage. If you’re using clip-ins, lay each weft flat and brush them individually to maintain their shape and integrity. This step is essential for achieving a smooth, natural blend with your own hair and ensuring the braids appear uniform and polished.
- Apply a Lightweight Styling Product: To improve grip and manage frizz, apply a lightweight styling product to both your natural hair and extensions before braiding. This helps keep the hair in place and makes the braiding process smoother. Consider the following options: Texturizing spray adds grip, making it easier to control each section during braiding. Lightweight mousse tames flyaways without adding weight or residue. Braid gel offers strong hold, perfect for creating sleek, tight braids with a clean finish. Avoid using heavy oils or thick creams, as they can make the hair slippery and difficult to braid, especially when working with extensions.
- Section Your Hair Cleanly: Accurate sectioning is essential for achieving symmetrical and balanced Dutch braids. Start by using a rat-tail comb to create a clean center part from your forehead down to the nape of your neck. For Double Dutch braids, make sure both sections are equal in size to maintain visual symmetry. Clip one side out of the way with a hair clip to prevent stray strands from interfering while you braid the other side. Proper sectioning also helps distribute hair extensions evenly, ensuring a polished and cohesive final look.
How To Braid Hair With Extensions For Beginners
Follow these steps to craft beautiful Dutch braids enhanced with extensions.
Step 1: Parting Your Hair
A clean and precise part sets the foundation for symmetrical Dutch braids. Start by using a rat-tail comb to divide the hair into two equal sections, running from the forehead to the nape of the neck. For accuracy, work in front of a mirror or use a second mirror to check the back.
Make sure the part is clean and even, as this symmetry directly impacts the visual balance of your braids. Once parted, secure one side with a clip or elastic band to keep it separated while you braid the other. This keeps the sections neat and prevents loose hairs from crossing over, ensuring a polished final look.
Step 2: Attaching Hair Extensions for Dutch Braids
Proper attachment of extensions is key to achieving a natural-looking and long-lasting Dutch braid. If you’re using clip-in extensions, start by sectioning a horizontal layer of hair near the crown. Clip the first weft close to the roots, making sure it lies flat against the scalp to create a smooth, undetectable blend. Add another weft near the nape of your neck to increase length and volume. For extra fullness, place smaller wefts near the temples. Press the clips firmly to lock them in place and prevent any slippage during braiding.
For tape-in or sew-in extensions, ensure they are installed evenly across the scalp and follow the path of your intended braid. This prevents the wefts from becoming visible and helps maintain a clean, cohesive look. Proper placement is essential for both aesthetics and comfort, forming a solid foundation for your Dutch braids.
Step 3: Braiding Technique
The signature raised appearance of a Dutch braid is achieved through an underhand braiding method.
Start by taking a small section of hair from the front of one side and divide it into three equal strands. Instead of crossing the outer strands over the middle like in a French braid, cross them under the middle strand. This creates the braid’s distinctive, elevated look.
As you braid, keep your hands close to the scalp to maintain a tight, structured pattern. Gradually add small sections of hair to each outer strand before crossing it under the middle. This ensures the braid builds evenly with consistent tension throughout.
Continue braiding down the length of the hair, keeping the braid secure but not too tight to prevent discomfort or stress on the scalp-especially important when extensions are involved.

Step 4: Blending Extensions Naturally
Blending extensions seamlessly is key to achieving a natural, polished Dutch braid. As you braid, incorporate small pieces of the extension hair into each section of natural hair before crossing it under the middle strand. To ensure a smooth blend, gently run your fingers or a comb through each new section to align the extension with your natural hair. Maintain consistent thickness by adding similar amounts of extension hair each time, avoiding bulky or uneven sections. If the natural hair runs out before reaching the desired length, continue braiding with the extensions alone, ensuring the transition is smooth and undetectable. This technique creates a cohesive, voluminous braid that looks effortlessly natural.
Step 5: Finishing and Securing Braids
Once the braid reaches the desired length, secure it with a strong, snag-free elastic to prevent unraveling and minimize hair damage. For a fuller, more dramatic look, gently pull apart each section of the braid, a technique known as pancaking, to add volume and create a thicker appearance. Be careful not to loosen the braid too much, as this can compromise its structure. Repeat the braiding process on the other side, ensuring both braids are symmetrical in size and tension. To keep the braids sleek and frizz-free, apply a light mist of hairspray or a shine-enhancing spray. This final touch ensures the Dutch braids stay polished and intact for hours, whether for a casual day out or a special event.
Creative Styling Ideas for Dutch Braids
Polished and Sleek Styling
For a sharp, sophisticated look, Dutch braids can be styled sleek and tight. Apply a smoothing serum to tame flyaways, then braid closely to the scalp for a clean, defined finish. A light mist of hairspray keeps it frizz-free and glossy. Perfect for workouts or formal events, this style shines with bold outfits. Hair extensions add volume and length for a striking, professional effect.

Relaxed Boho Aesthetic
For a carefree, festival-ready vibe, opt for loose, bohemian Dutch braids. Braid lightly and pull apart sections to create a fuller, tousled look. Leave a few face-framing strands loose or add gentle waves around the hairline to enhance softness and add a touch of effortless charm to your look. Ideal for casual outings like brunch or festivals, hair extensions for Dutch braids with wavy texture enhance the natural, laid-back style.

Braids into a Bun
Elevate your Dutch braids by twisting them into a chic bun for a sporty, functional, and effortlessly stylish look. Braid as usual, then twist the ends into a high or low bun, secured with bobby pins. For a playful twist, create two mini buns from each braid. Great for sports or hot days, this style ensures a fuller, more defined bun.

Accessorizing for Impact
Elevate Dutch braids with accessories. Weave silk ribbons through the braids for a romantic touch or add gold cuffs for an edgy, festival look. Add small beads or colorful clips to your Dutch braids for a fun, bohemian touch or a playful, youthful vibe. Choose lightweight accessories to complement hair, ensuring comfort and style for any occasion.

Celebrity-Inspired Looks
Celebrities like Zendaya and Gigi Hadid inspire Dutch braid creativity. Zendaya’s sleek, glamorous braids pair with bold accessories for red-carpet flair, while Gigi’s messy, casual braids exude effortless cool. Using hair extensions for Dutch braids, you can recreate Zendaya’s polished look with straight hair extensions or Gigi’s relaxed style with wavy ones, adapting to any vibe.

Maintaining Your Dutch Braids
- Cleanse Gently Without Disrupting the Style: To cleanse your scalp without disturbing your braids, mix a sulfate-free shampoo with water and apply it using a spray bottle or applicator bottle for precision. Gently massage the solution into your scalp with your fingertips, concentrating on the roots. Rinse thoroughly with lukewarm water, being careful not to scrub or rub harshly. This gentle approach minimizes frizz and helps maintain the structure of your braids and the integrity of your extensions.
- Moisturize Your Scalp and Extensions: Dryness can lead to scalp irritation and negatively affect the health of both your natural hair and extensions. To keep your scalp moisturized, gently apply a small amount of lightweight leave-in conditioner or nourishing oil-such as jojoba or argan-directly to the scalp and any exposed areas of your braids. This helps maintain hydration without weighing down the hair. Be careful not to overapply-using too much can lead to buildup, weigh down your extensions, and make your braids appear greasy. Aim for a light, even application to maintain hydration without sacrificing style.
- Avoid Excessive Pulling or Tension: Tight braids can cause discomfort and damage.To prevent traction alopecia, avoid pulling the braids into tight ponytails or buns daily. If you feel scalp soreness, gently massage the area and loosen any overly tight sections to reduce strain on your natural hair and extensions.
- Refresh the Look with Styling Products: To tame flyaways and maintain a polished appearance, use a light mist of hairspray or a small amount of edge control gel along the hairline. Choose products designed for extensions to avoid residue buildup. A quick spritz of shine spray can enhance the braids’ vibrancy and keep them looking fresh.

- Limit Heat Exposure: Excessive heat can damage both your natural hair and hair extensions, especially if they’re synthetic. Avoid using hot tools directly on the braids. If you need to style loose ends or face-framing strands, use a low-heat setting on a curling wand and apply a heat protectant to the extensions.
- Remove Braids Timely to Prevent Damage: Dutch braids should not be left in for more than 7–10 days to avoid matting and scalp stress. When removing, gently undo the braids starting from the ends, using a detangling spray to ease the process. Brush the extensions carefully to reuse them for future styles.
- Store Extensions Properly: After removing your Dutch braids, clean and store hair extensions to maintain their quality. Wash human hair extensions with a gentle shampoo, air-dry them, and store them flat in a cool, dry place. For synthetic extensions, follow care instructions to prevent damage and ensure they’re ready for your next braiding session.
Where to Buy the Best Hair Extensions for Dutch Braids
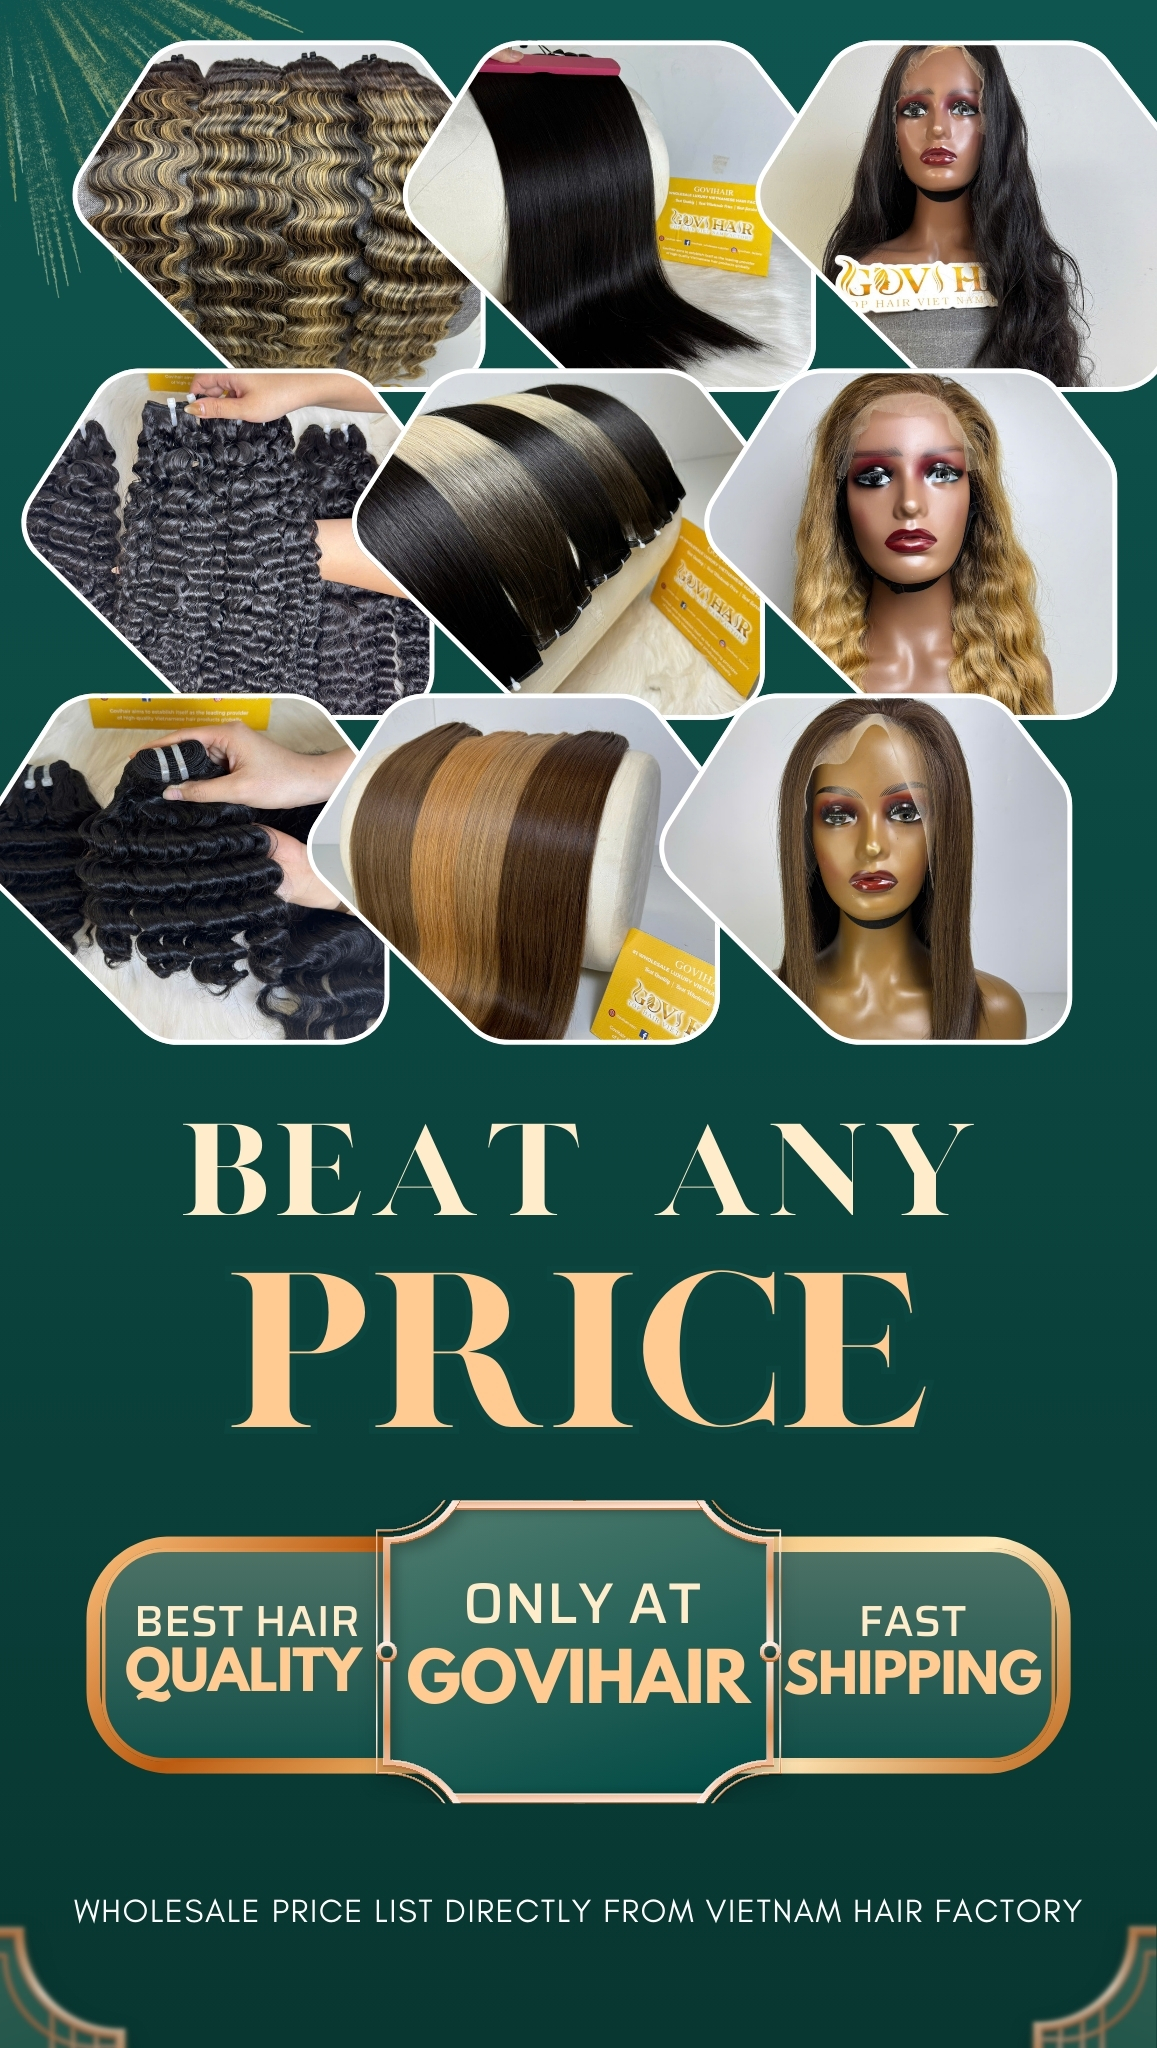
For those seeking premium, 100% natural Vietnamese hair extensions for Dutch braids that offer luxury, durability, and versatility, Govihair stands out as an exceptional choice. As the leading wholesale luxury Vietnamese hair factory, Govihair delivers unmatched excellence and customer service. Their premium hair extensions are made from ethically sourced, single-donor Vietnamese hair, renowned for its durability, smooth texture, and natural luster. These extensions seamlessly blend with your natural hair, ensuring a flawless, voluminous look that enhances the bold, raised style of Dutch braids. Whether you’re aiming for sleek, polished braids or a boho-inspired, messy vibe, Govihair’s products provide the perfect length and thickness to elevate your hairstyle.

Visit Govihair today to explore their top-tier hair extensions and transform your ponytail game with unparalleled quality and style!
Chat with Us:
- WhatsApp: (+84) 795 746 986
- Email: [email protected]
- Instagram: govihair_vietnamhair_factory
- TikTok: govihairvietnam_official
- Website: govihair.com
FAQs
What kind of hair should I use?
For classic Dutch braids (like “boxer braids”), Kanekalon synthetic braiding hair is the gold standard. It has a crimped texture that provides grip, making it much easier to braid than silky human hair, which tends to slip out.
Does it hurt?
It shouldn’t! While the braids need to be firm to look neat, they should never feel like a facelift. If you feel sharp stinging or see small bumps at the hairline, the braid is too tight and can cause traction alopecia
How do I make them look seamless?
The “feed-in” method is your best friend. Instead of starting the braid with all the extension hair at once, you add small sections of extensions gradually as you move down the head. This creates a natural taper from thin to thick.
How long do they last?
Typically 3 to 7 days, depending on your hair texture and how you sleep. After a week, the “frizz” usually takes over.
Conclusion
Hair extensions for Dutch braids open up a world of possibilities, transforming this timeless hairstyle into a versatile, head-turning look for any occasion in 2025. From adding volume and length to experimenting with bold colors and creative styles, hair extensions for Dutch braids empower you to achieve the thick, dramatic braids of your dreams. Whether you’re channeling a sleek, polished vibe or a relaxed boho aesthetic, hair extensions for Dutch braids, like those from Govihair, ensure your hairstyle stands out with effortless elegance and confidence. Explore the endless styling options and elevate your braid game today!


 Ms. Jade