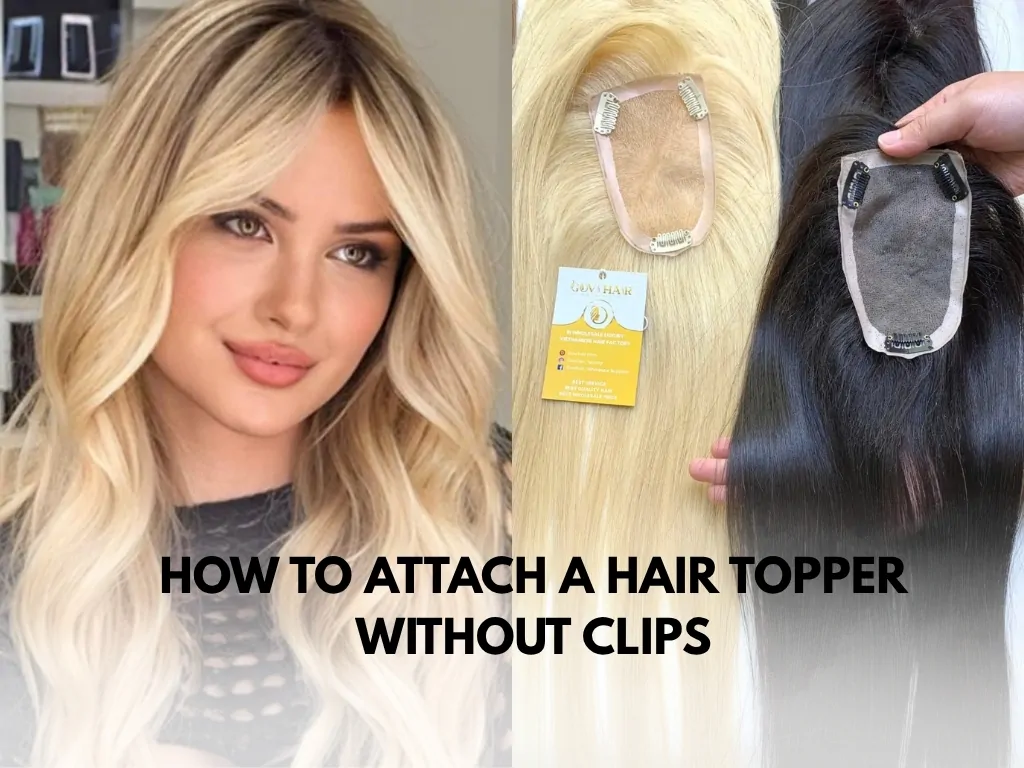
Do you love the volume and coverage a hair topper provides but are tired of the clips that feel uncomfortable, cause headaches, or even damage your natural hair? Fortunately, clipless hair toppers have emerged as a solution, providing superior comfort, security, and a remarkably natural appearance.
This guide from Govihair will walk you through everything you need to know about how to attach a hair topper without clips. Let’s explore these methods that will allow you to wear your hairpiece with total confidence every day.
Why Should You Consider How To Attach A Hair Topper Without Clips
Switching to a clipless hair topper is more than just a preference; it offers practical benefits, especially for those with sensitive scalps or fine hair.
Increased Comfort, Reduced Stress on Natural Hair
This is truly the most comfortable way to wear a hair topper without clips. Clip-free methods eliminate the constant pulling and pressure on your hair follicles, reducing the risk of traction alopecia and providing a pleasant, weightless feeling all day long.
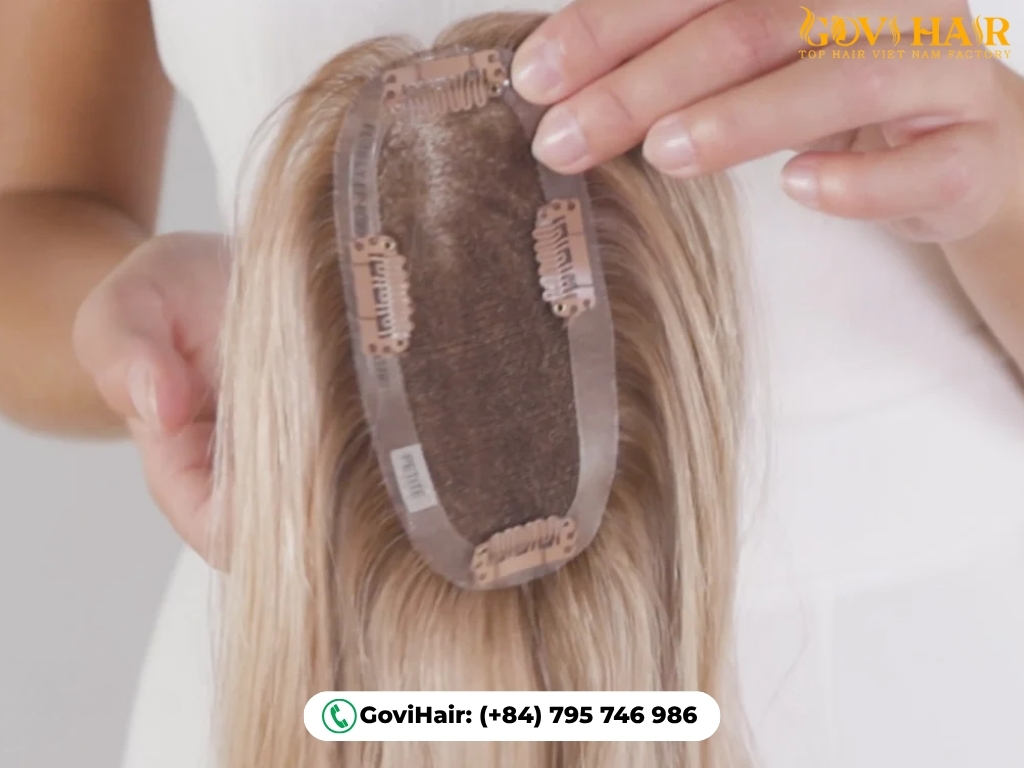
A Seamless, Bump-Free Appearance
Tape and liquid adhesives allow the base of the topper to lie completely flat against your scalp, eliminating the tell-tale bumps that clips can sometimes create. This results in an undetectable, natural-looking finish that will boost your confidence.
More Security and Confidence for Active Lifestyles
If you’re concerned about how to secure a hair topper safely for an active lifestyle, these alternative solutions are the answer. Adhesives or a professional sew-in provide a super-strong hold, giving you the freedom to live an active life without concern.
>> See more: How to Turn Your Curly Wig Into a Topper For Beginners
How to Attach a Hair Topper Without Clips (No Clips Needed)
If you’re wondering how to attach a hair topper without clips, adhesive methods are the perfect solution. Depending on your needs and lifestyle, you can choose between wig tape for daily wear or liquid adhesive for longer hold.
Option 1: Wig Tape (Beginner-Friendly & Daily Use)
This is the most beginner-friendly method, ideal for those who want to remove their topper daily, have oily skin, or simply prefer a quick and simple solution.
Tools and Materials Needed:
- Double-sided wig tape
- 90% Isopropyl alcohol and a cotton ball
- Scissors
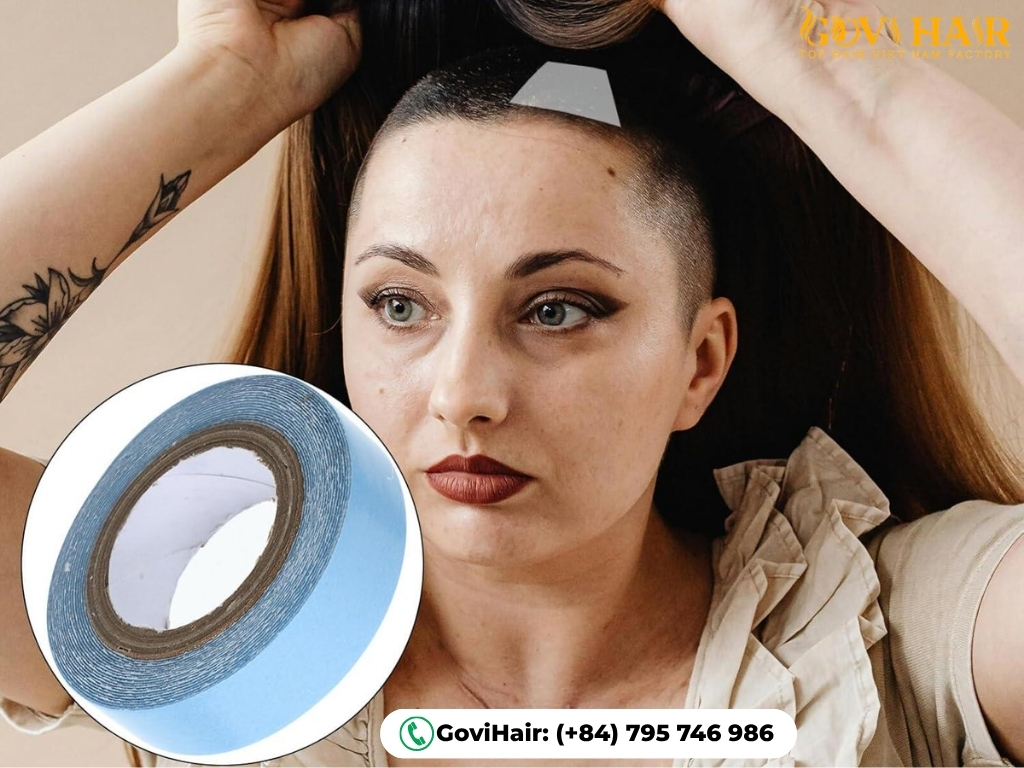
4-Step Application Guide on how to secure a hair topper with wig tape:
- Prep: Use a cotton ball with alcohol to clean the scalp area where the topper will sit. This removes excess oil and ensures a strong grip.
- Apply Tape: Cut the tape into small strips and place them on the underside of the topper, along the perimeter.
- Position Topper: Peel off the backing paper and carefully position the topper in the desired spot.
- Secure: Press down firmly on the taped areas for 10–15 seconds to activate the bond.
Pro Tips:
- Always apply the tape to the topper before placing it on your head.
- For removal, use a small amount of coconut or baby oil to loosen the adhesive gently.
Option 2: Liquid Adhesive
If you need maximum hold for physical activities or want a seamless, natural-looking hairline—especially when using a lace-front topper—liquid adhesive is your go-to method.
Tools and Materials Needed:
- Skin-safe liquid adhesive (wig glue)
- Scalp protector
- Adhesive remover
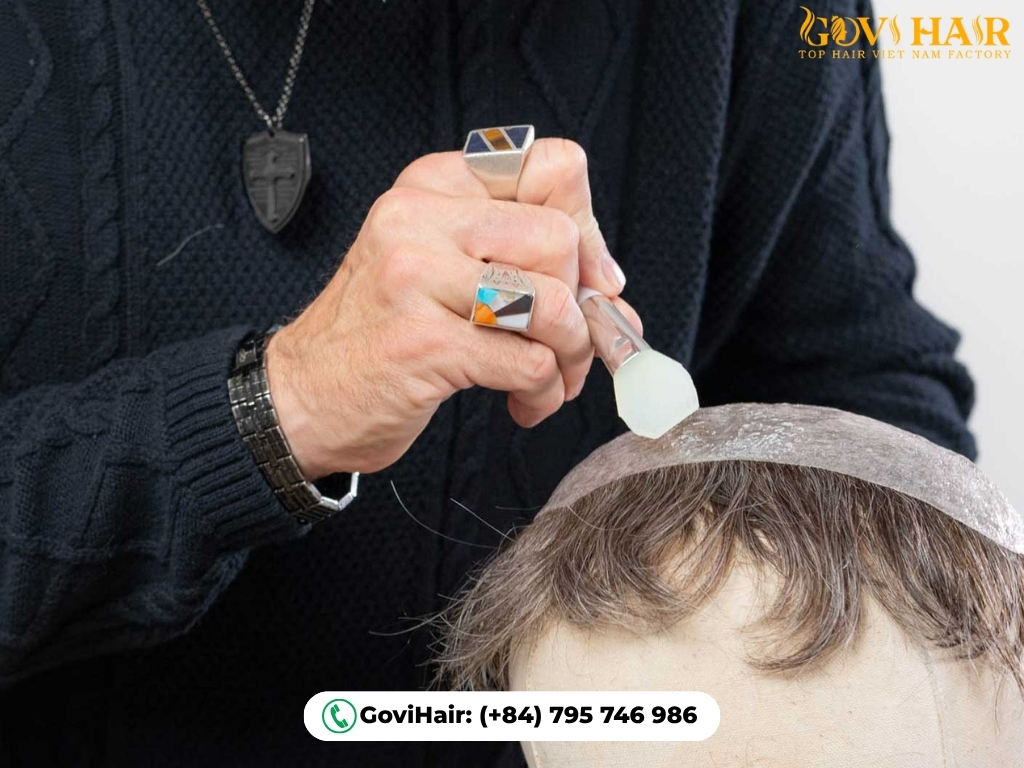
4-Step Application Liquid Adhesive Guide:
- Protect Skin: Apply a thin layer of scalp protector around your hairline and let it dry completely.
- Apply Adhesive: Apply a thin layer of liquid adhesive along the area where the topper will sit.
- Wait for It to Cure: Wait 1–2 minutes until the adhesive turns from white to clear and feels tacky.
- Attach Topper: Gently press the topper onto the tacky adhesive and hold it in place with your fingers or a comb to secure the bond.
Pro Tips:
- Always perform a patch test 24 hours before use to check for allergies.
- Use an adhesive remover when taking off the topper to protect your scalp and the topper base.
Use wig tape if you prefer convenience and easy daily removal, or liquid adhesive if you need a stronger, long-lasting hold. Both methods offer a secure, clip-free way to achieve a flawless and natural look.
>> Read more: How to Put on a Hair Topper: A Step-by-Step Guide for Beginners
How To Attach A Hair Topper With Topper Grip Band
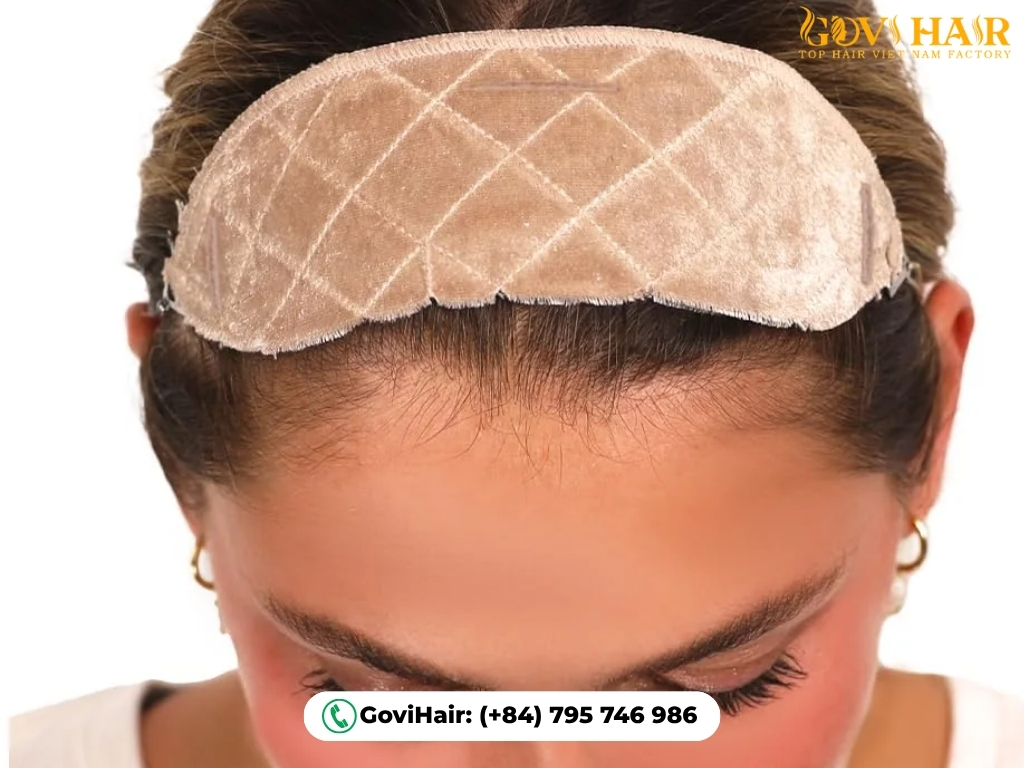
If your top priorities are comfort, ease of use, and protecting your biological hair from clip-related damage, top grip for hair toppers is the ultimate non-adhesive solution.
Tools and Materials Needed:
- Wig/Topper Grip Band
3-Step Application A Hair Topper With Topper Grip Band Guide
- Wear Band: Place the grip band around your hairline, ensuring the velvet material is in contact with your skin and hair.
- Secure Fit: Fasten the Velcro tabs at the nape of your neck for a snug, but not tight, fit.
- Attach Topper: Simply place your hair topper directly onto the band. The unique velvet texture will grip the base of the topper, holding it securely in place through friction.
Pro Tips:
- This is the ideal solution for anyone with enough biological hair for the band to grip onto.
- For lace-front toppers, choose a “Lace Grip Band” to ensure a seamless, invisible hairline.
How To Attach A Hair Topper With Sew-In Method
This is a semi-permanent option that requires a higher level of skill. Below, we’ll walk you through the detailed process of how to sew in a hair topper on thinning hair.
Who Is This Method For?
Those who want a long-term solution and do not want the daily hassle of applying and removing their topper.
Why You Should See a Professional
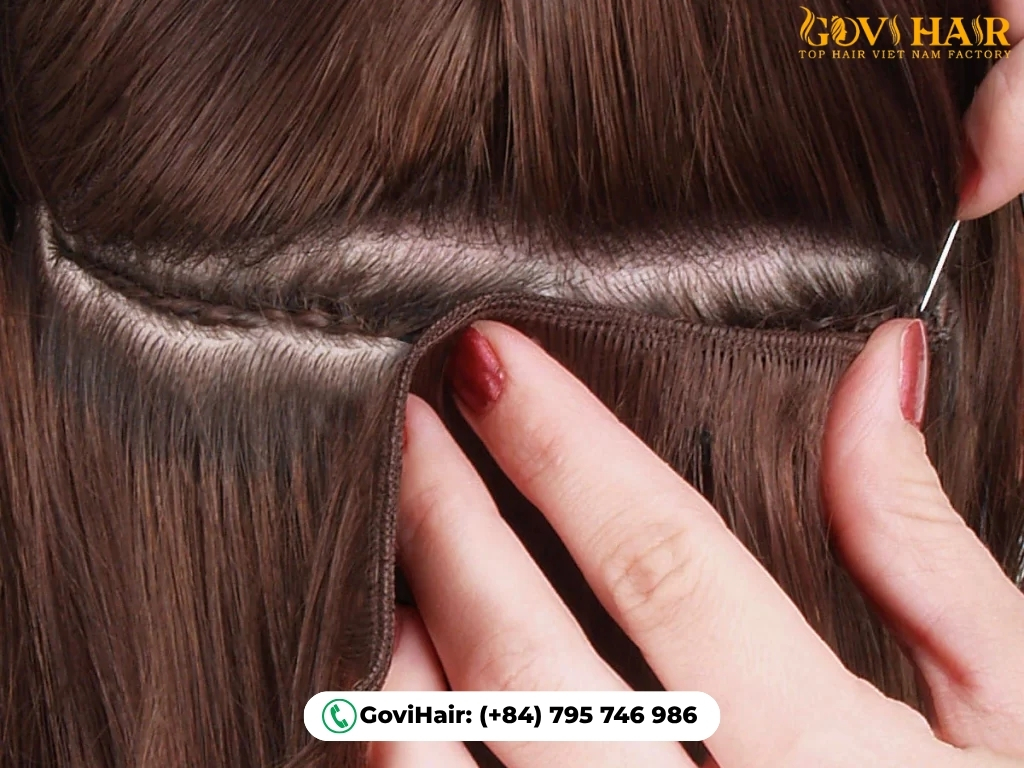
This method involves creating a secure base by braiding your own hair and then using a needle and thread to sew the topper’s perimeter onto the braids. This should be done by a professional stylist to ensure it’s safe and won’t damage your natural hair.
What to Expect During the Salon Process
Your stylist will create a few small, flat cornrows on your head. They will then use a specialized needle and thread to securely stitch the topper to these braids. The process is similar to some professional hair extension techniques.
Pros and Cons to Consider
- Pros: Extremely secure, feels like your own hair, and is worry-free for weeks.
- Cons: More expensive, requires maintenance every 4-6 weeks, and cleaning your scalp can be more challenging.
>> Explore more: The Best Hair Topper Supplier In The Market
How To Attach A Hair Topper With Micro Ring Method
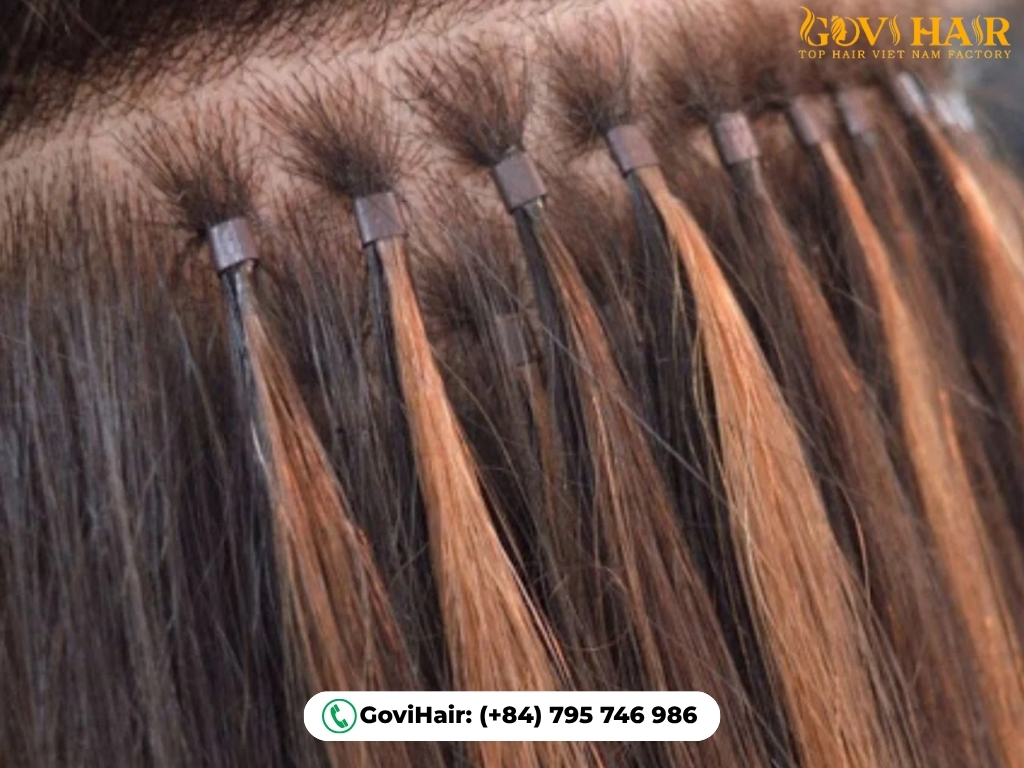
This technique offers a secure, semi-permanent attachment for those who want to learn how to attach a hair topper without clips.
Tools Needed
- Silicone-lined micro rings
- Pulling needle/loop tool
- Pliers
- Rat-tail comb
- Sectioning clips
Installation Using Micro Ring Guide
- Position Topper: Place the topper over the thinning area and secure it with clips.
- Section Hair: Take a small strand of your natural hair from under the topper’s edge.
- Thread Ring: Use the pulling tool to thread your hair strand through a micro ring.
- Secure: Slide the ring up toward the scalp, catching the topper’s edge underneath it.
- Clamp: Firmly press the ring flat with pliers to lock it in place. Repeat around the topper’s perimeter.
Pro Tips & Notes
- Always use silicone-lined rings to prevent hair damage.
- For best results, see a professional for the first installation — even though you might find tutorials on how to install a hair topper with micro rings at home, it’s not recommended for beginners as improper application can damage your hair or topper.
- Maintenance is needed every 4-6 weeks as your hair grows.
Quick Comparison of the 5 Most Popular Methods
To help you choose the right option, here is a quick comparison of the five main methods.
| Criteria | Wig Tape | Liquid Adhesive | Sew-in | Micro Ring | Grip Band |
| Durability | 1-3 Days | Several Days to 1 Week+ | 4-6 Weeks | 4-6 Weeks | Daily (Flexible On/Off) |
| DIY Difficulty | Easy | Medium | Hard (Pro needed) | Medium to Difficult | Very Easy |
| Best For | Daily Wear | Super-Strong Hold | Long-Term Solution | Semi-permanent solution, no braid-down needed. | Maximum comfort, protecting natural hair, sensitive scalp. |
Where to Buy High-quality Human Hair Toppers?
Look for reputable vendors with clear return policies and professional customer service such as Govihair to get the best result.
At GOVIHAIR, every topper is crafted from premium single-donor raw hair, ensuring the most natural look, soft texture, and long-lasting quality. This high-value hair can be bleached to light blonde shades and, with proper care, lasts up to five years. You can choose from various textures like Straight, Bone Straight, Wavy, or Curly, with Bone Straight and Natural Wavy being customer favorites. Colors and lengths (from 12 to 28 inches) are fully customizable to blend seamlessly with your natural hair.
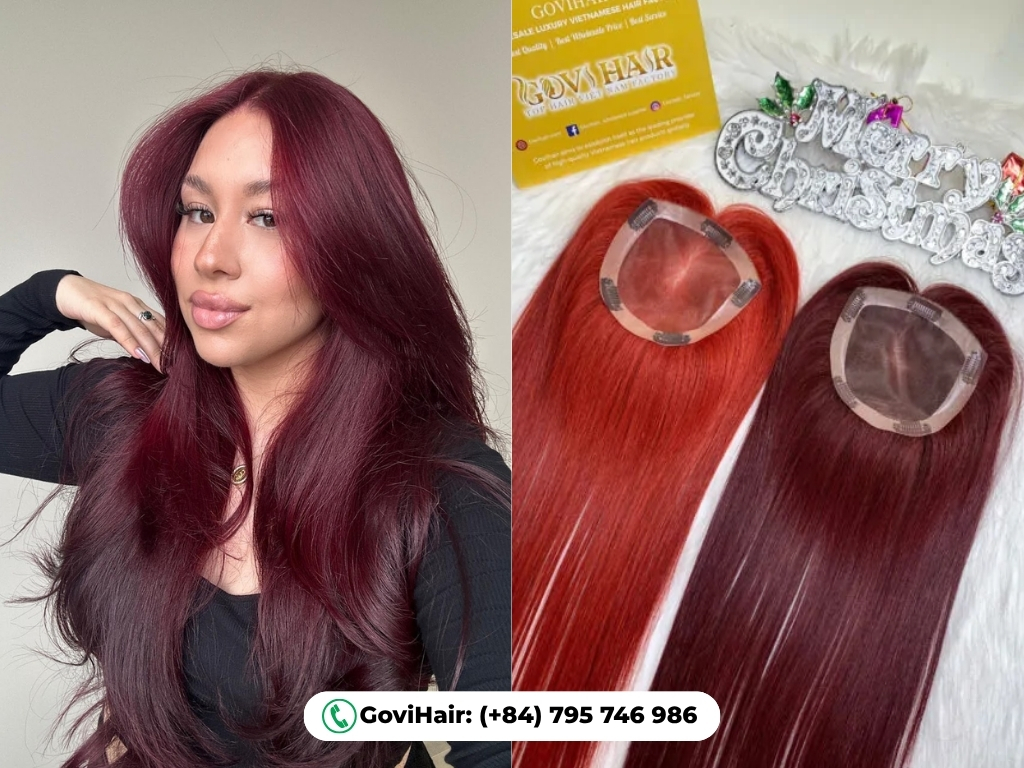
Each topper is hand-knotted strand by strand over 8–10 days, creating a realistic finish and perfect coverage. Lace sizes vary from 4×4 to 7×9 inches to match different needs, with density options of 130%, 150%, or 180% for the desired volume. Available in both Mono Lace and Silk Base Lace, every detail can be tailored to your preference. GOVIHAIR ships internationally via DHL, FedEx, or UPS, ensuring safe and timely delivery straight to your door.
>> Discover GoviHair’s Premium Human Hair Toppers Collections
Chat With Us:
- WhatsApp: (+84)795 746 986
- Email: [email protected]
- Instagram: govihair vietnam factory
- Tik Tok: govihairvietnam_official
- Website: govihair.com
FAQs
What is the most comfortable way to attach a hair topper without clips?
For daily wear, a high-quality wig tape are often the most comfortable methods as they lie flat against the scalp and don’t pull on individual hair strands.
Will tape or adhesive damage my natural hair or irritate my scalp?
When using professional, skin-safe products and removing them correctly with a proper solvent, the risk of damage or irritation is very low. Always perform a patch test on your skin first.
How long can a hair topper stay attached without clips?
Wig tape typically provides a secure hold for 1-3 days. A quality liquid adhesive can last anywhere from a few days to over a week, depending on the glue and your skin type.
Can I apply a hair topper myself at home with these methods?
Yes, you can easily apply a topper at home using wig tape or liquid adhesive. However, more permanent methods like the sew-in or micro rings should always be done by a professional.
How do I safely remove a hair topper that was applied with adhesive?
Never pull or force it off and use a specialized adhesive remover or solvent. Apply it along the bonded edge, wait a few minutes for the adhesive to dissolve, and then gently lift the topper away.
Conclusion
Say goodbye to the discomfort and hair damage caused by traditional clips. Learning how to attach a hair topper without clips is a true game-changer for your comfort and confidence. This guide has shown you several reliable alternatives, from easy-to-use tapes to long-wear adhesives. Now, you can finally enjoy a secure, seamless look that feels as good as it looks. Choose your favorite method and embrace freedom!




 Ms. Rosie