Clip-in hair extensions work by attaching wefts of hair to your natural strands using small, pressure-sensitive clips. They’re a quick, non-damaging way to add length, volume, or even color, no glue, heat, or salon visit needed. Perfect for beginners and beauty lovers alike, clip-ins let you transform your look in minutes and remove them just as easily.
In this guide from GoviHair, you’ll learn exactly how do clip in hair extensions work, how to apply them step by step, and how to blend them with all hair types..
What Are Clip-In Hair Extensions
Definition and Purpose
Clip-in hair extensions are wefts of hair that come with pre-attached pressure-sensitive clips. These clips are sewn securely into the base of the weft, allowing users to clip them directly into their natural hair. They’re a temporary, non-damaging way to change your look in minutes, with no professional installation required. Each weft has small clips attached at the top.
Ideal for everyday wear or special occasions, clip-ins allow you to experiment with different lengths, styles, and textures without commitment. A full set usually includes 5 to 10 pieces of varying lengths and widths to be attached at different spots on the head

>> Clip-Ins Premium Collections
Key Components
- Hair Wefts: Strips of hair, either synthetic or real human hair, ranging in width to cover different sections of the scalp.
- Snap Clips: Small, comb-like clips lined with silicone that grip your natural hair without slipping or damaging it.
- Hair Type Options: Available in synthetic fibers or human hair, including premium Remy hair known for its cuticle alignment and smoothness.
Types of Clip-In Extensions
- Synthetic Clip-Ins: Made from plastic fibers that mimic human hair. These are affordable and come pre-styled but are not heat-friendly.
- Human Hair Clip-Ins: Offer the most natural look and feel. They can be heat styled, washed, and colored.
- Remy Human Hair: The highest quality human hair, where the cuticles are kept intact and aligned for tangle-free styling.
- Seamless Clip-Ins: Feature a thin, flat silicone base instead of fabric for an invisible finish, perfect for fine or thin hair.
For those exploring how to put in hair extensions without clips, other options like tape-ins, halos, or sew-ins may be worth considering.
>> Read More: What Are the Different Types of Hair Extensions?
Is It Safe to Use Clip-In Hair Extensions?
Clip-in hair extensions are one of the safest types of hair extensions. Unlike tape-in, sew-in, or glued extensions, clip-ins don’t need glue, heat, or tight braids. You just clip them onto your natural hair, and you can take them off easily at the end of the day.
If used the right way and not worn too often, clip-in hair extensions will not hurt your scalp or damage your hair. They let your scalp breathe, don’t stop hair from growing, and won’t cause pulling or breakage when applied gently. For people with fine or thin hair, lightweight or seamless clip-ins are best to avoid pressure.
How Do Clip In Hair Extensions Work?
The Clip Mechanism
If you’re wondering how do clip in hair extensions work, it all starts with the simple clip design. The clips on each weft open and close like a barrette. To apply, the clip is pressed open and inserted at the root of your natural hair, then snapped shut. The small teeth inside grip the hair securely without tugging or pulling.
Silicone lining inside the clip helps prevent slippage and minimizes breakage. When applied correctly, clip-ins stay comfortably in place all day without the need for adhesives or braiding.
The Hair Blending Process
For the most natural look, the clip-in hair must closely match your own in texture, density, and color. Most brands offer a wide range of shades, tones, and undertones. Some even offer multi-dimensional ombre or balayage shades to better blend with highlighted or color-treated hair.
You can choose from various textures, straight, wavy, kinky, coily, to match your natural curl pattern. Using human hair clip-ins allows you to curl or straighten both your natural hair and extensions together for a uniform finish.

Application Tools
- Rat-tail comb for parting and sectioning
- Alligator clips to keep hair out of the way
- Texturizing spray or dry shampoo for grip
- Hairbrush or wide-tooth comb
- Straightener or curling iron for styling
Step-by-Step: How to Put in Clip-In Hair Extensions
Not sure where to start? This tutorial explains how do clip in hair extensions for beginners using a simple step-by-step method.
Step 1: Prepare Your Hair: Start with clean, dry, and detangled hair. Brush both your natural hair and the extensions to remove any tangles. For better grip, add some dry shampoo or texture spray near the roots. This prevents clips from sliding and helps them stay in place all day.
Step 2: Section Your Hair: Using a rat-tail comb, part your hair horizontally about one inch from the nape of your neck. Use a comb to create a horizontal part near the nape of your neck. Clip the rest of your hair out of the way. This lower section is where you’ll place your first weft. Clip up the top section to keep it out of the way.
Step 3: Tease the Roots (Optional): If your hair is silky or thin, lightly tease the roots where each clip will go. This creates a stronger anchor for the clips.

Step 4: Clip in the Hair: Start with the largest weft (usually with 3 to 4 clips). Snap the middle clip in first, then secure the side clips. Work your way up the head, parting and adding each new weft about an inch above the last. Finish with the smallest wefts on the sides to blend your face-framing pieces.
Step 5: Blend and Style: Release your natural hair from the clipped-up sections and gently brush through to blend. Style as desired using heat tools, just as you would with your own hair. Always apply heat protectant spray before using heat.
- Release the top section of your hair to cover the clips.
- Gently brush to blend your natural hair with the extensions.
- You can straighten, curl, or style if the extensions are made of real human hair.
How Long Do Clip In Hair Extensions Last?
The longevity of clip-in hair extensions largely depends on the type and quality of hair used. High-quality clip-ins made from 100% Remy human hair are the most durable and realistic option available. These extensions retain their softness, natural shine, and integrity for anywhere between 6 to 12 months or more, making them ideal for frequent use or long-term styling versatility.
On the other hand, synthetic clip-in extensions, which are made from man-made fibers, generally have a shorter lifespan of about 2 to 4 months. While they are more budget-friendly and often come pre-styled, synthetic hair is less resistant to wear and cannot be heat styled like human hair.

How often you wear the extensions can also influence how long they last. Clip-ins worn only for occasional events tend to last longer than those used daily. For users who switch up their hairstyle often or rely on clip-ins as part of their regular beauty routine, investing in high-grade human hair extensions offers the best long-term value and flexibility.
Tips for Different Hair Types
Clip-Ins for Thin Hair
If you have fine or thinning hair and are wondering how do clip in hair extensions work for your hair type, follow these tips to apply them securely and get a natural-looking result:
- Use seamless clip-in extensions to avoid bulk.
- Focus on lighter, fewer wefts to reduce weight.
- Always tease roots or add grip spray for security.
- Avoid placing clips too high on the head, where coverage is thinner.
>> Read More: How To Hide Clip in Extensions In Thin Hair: Top Tips & Mistakes To Avoid

Clip-Ins for Black Hair
If you’re wondering how do clip in hair extensions work for Black hair, start by choosing textures that match your natural curl pattern for the most seamless blend.
- Choose extensions that match your curl pattern, such as kinky curly, yaki, or afro-textured wefts.
- Clip-ins can be styled into twist-outs, braid-outs, buns, or ponytails.
- Apply clip-ins over cornrows or flat twists for protective styling.
Using 7-Piece Clip-In Sets
Here’s how to put in 7-piece clip-in hair extensions for even coverage and a balanced finish, understanding how do clip in hair extensions work helps you apply them with confidence.
- One 4-clip weft (back of the head)
- Two 3-clip wefts (mid-head)
- Two 2-clip wefts (sides)
- Two 1-clip wefts (temples or crown)
Place the larger pieces at the back of the head and the smaller pieces closer to your hairline or face for an even blend.
How to Make Clip-In Extensions Look Natural
Match Color and Texture
Always match the mid-to-end section of your hair. Roots can be slightly darker, but mismatched ends are more noticeable. Some brands offer custom color matching services if you’re unsure.
If your hair is curly or coily, purchase textured extensions that mimic your curl type. For heat-styled looks, choose 100% human hair so you can curl both your hair and the extensions together.

Blend With Layers
Trim or layer the extensions once applied so that they fall naturally with your haircut. Feathering the ends and shaping around the face helps avoid a blunt or choppy look.
Conceal the Wefts
Ensure enough of your natural hair covers the top clips. Avoid placing wefts too close to your part line or crown. Light teasing or using a root cover spray can help camouflage any exposed areas.
Pros and Cons of Clip-In Hair Extensions
Clip-in hair extensions are a popular choice for good reason, they’re convenient, versatile, and beginner-friendly. But like any beauty product, they come with both strengths and limitations. Below, we break down the key benefits and drawbacks to help you decide whether clip-ins are right for you.
Benefits
- Easy, fast application: Clip-in extensions can be applied in just 5 to 10 minutes at home, even if you’re new to using extensions. There’s no need for professional training or complicated techniques, making them perfect for last-minute styling.
- No salon visit or tools needed: Because clip-ins require no glue, heat, or braiding, you don’t need to book a salon appointment or invest in expensive tools. Everything can be done by hand with simple sectioning and clipping.
- Adds volume and length instantly: Whether you’re dealing with thin hair, a bad haircut, or just craving longer locks, clip-ins offer an instant transformation. They can add thickness and inches of length in a matter of minutes.
- Doesn’t damage natural hair: Unlike permanent extensions that involve adhesive or heat, clip-ins simply attach to the outer layers of your hair with small pressure clips. This means there’s no pulling, bonding, or long-term damage, making them one of the safest extension options available.
- Reusable for months with proper care: High-quality clip-ins, especially those made from Remy human hair, can last 6 to 12 months or longer. As long as you clean, detangle, and store them properly, they remain a cost-effective beauty investment.

Drawbacks
- Not designed for sleeping or swimming: Clip-ins are intended for temporary, daytime wear only. Sleeping in them can cause tangling, scalp discomfort, and even breakage over time. Similarly, swimming with clip-ins can loosen the clips and damage the hair, especially if the extensions are made of real human hair exposed to saltwater or chlorine.
- Requires removal daily: Because clip-ins are not semi-permanent, they need to be taken out at the end of each day. While this makes them a safer and more flexible option, it can also feel inconvenient for users who prefer a low-maintenance routine or want to keep their hairstyle intact overnight.
- May be visible if not properly blended: For a flawless look, clip-ins must match your natural hair in both color and texture. Improper placement, poor blending, or a significant difference in hair length or density can lead to visible wefts. This is especially important for users with thin, very short, or textured hair.
>> Explore More: Why Should Using Clip in Hair Extensions for Short Hair?
Can You Dye Clip-In Hair Extensions?
Clip-in hair extensions can be dyed, but only if they are made from 100% human hair. Remy human hair extensions, in particular, respond well to hair dye because their cuticles are intact and aligned, allowing them to absorb color much like natural hair. This makes them an ideal option if you need to tone, darken, or subtly adjust the shade to match your own.
Synthetic clip-ins, however, cannot be dyed. These fibers are made from plastic materials that don’t react to color the same way and can become damaged, melted, or discolored if exposed to traditional hair dye.
If you plan to dye your human hair clip-ins, consider the following:
- It’s safer to darken extensions than to lighten them. Bleaching can damage the hair fibers and reduce the lifespan of the extensions.
- Always perform a strand test before applying color to the entire set.
- Use a gentle, ammonia-free formula to help preserve softness and shine.
- Avoid getting dye on the clip base to prevent weakening the stitching or causing buildup.
When done correctly, dyeing human hair clip-ins can give you a perfectly blended, customized finish that elevates your entire look.

How to Wash Clip-In Hair Extensions?
Washing clip-in hair extensions is a simple process that helps keep them looking fresh, soft, and free from product buildup. Since clip-ins are not attached to your scalp, they don’t accumulate natural oils like your real hair. That means they don’t need to be washed as often only when they start to feel heavy, look dull, or no longer hold style well.

Here’s a step-by-step guide to washing them properly:
Step 1: Detangle Before Washing: Before getting them wet, gently brush your clip-ins from the ends upward using a wide-tooth comb or a loop brush to prevent breakage and minimize shedding.
Step 2: Fill a Basin with Lukewarm Water: Use a clean sink or bowl filled with lukewarm water. Avoid hot water, as it can affect the texture and elasticity of the hair, especially for human hair extensions.
Step 3: Add a Mild Shampoo: Mix in a small amount of gentle, alcohol-free shampoo formulated for dry or color-treated hair. Swish the water to distribute the shampoo evenly.
Step 4: Submerge and Clean Gently: Place one weft at a time into the water, gently moving it through the shampoo without scrubbing or twisting. Let each weft soak for 2–3 minutes to lift out product and dirt.
Step 5: Rinse Thoroughly: Run lukewarm water over each weft until all shampoo is rinsed out. Be sure there’s no residue left, as leftover shampoo can cause dryness or stiffness.
Step 6: Apply Conditioner (Optional for Synthetic): For human hair clip-ins, apply a lightweight conditioner from mid-shaft to ends. Avoid the clip base to prevent buildup. Let it sit for a few minutes, then rinse completely.
Step 7: Air Dry Flat: Lay each weft flat on a towel and pat gently to remove excess water. Avoid wringing. Let them air dry fully before brushing or styling.
Washing your clip-in extensions periodically keeps them looking salon-fresh and allows them to blend seamlessly with your natural hair every time you wear them.
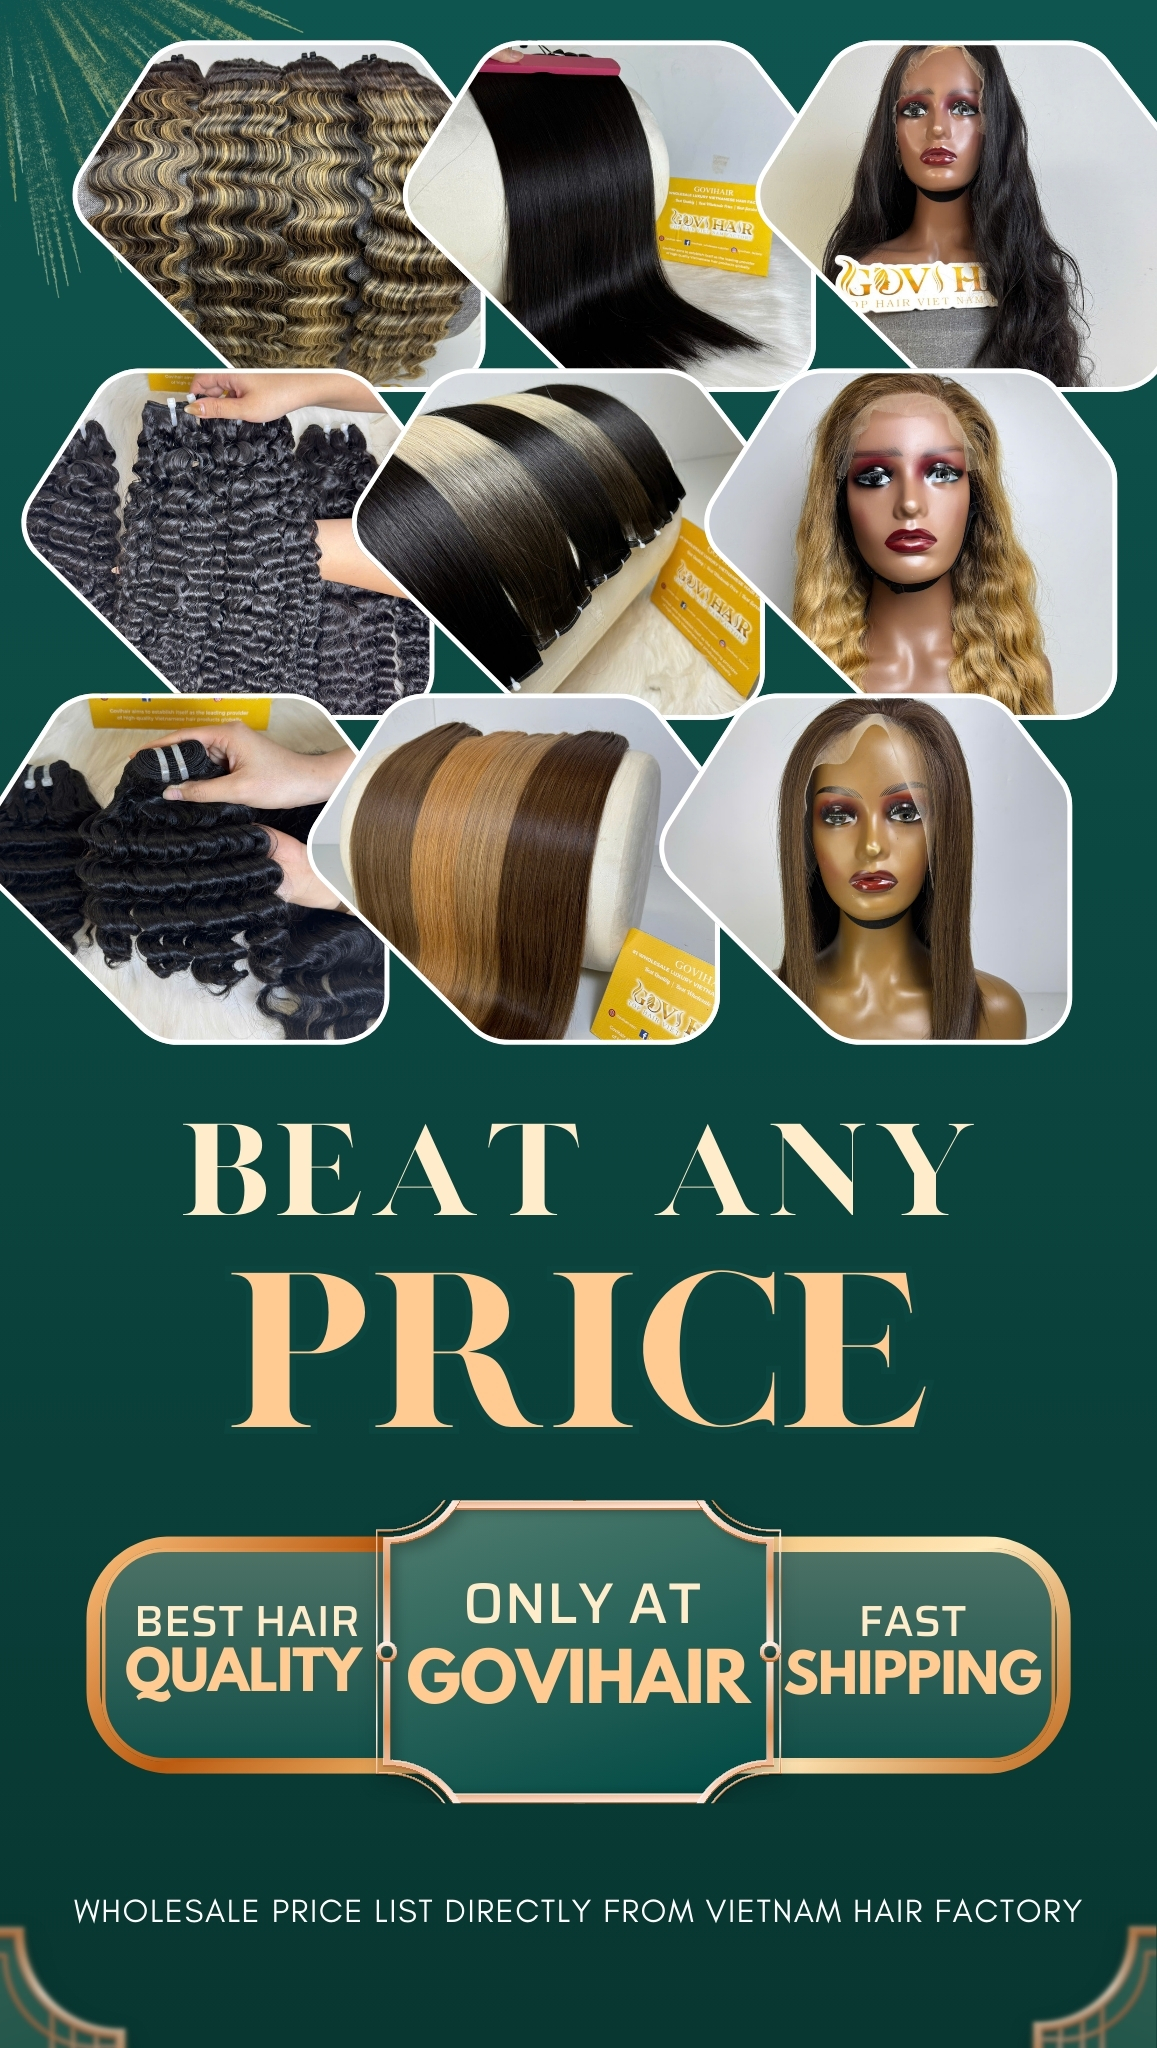
Where to Buy Clip in Hair Extensions Best Quality?
If you’re looking for the best place to buy high-quality clip in hair extensions, Vietnamese hair is a top choice trusted by many salons and hair professionals worldwide. At Govihair, we supply 100% real Vietnamese human hair with no synthetic fibers, ensuring a natural look and soft feel.
- Minimum order quantity: 300 grams to qualify for wholesale pricing.
- First-time buyer bonus: 50% off FedEx shipping on your first order.
- Material: 100% real Vietnamese human hair, no synthetic fibers.
- Bonus: Every order comes with a Hair Care Guidebook to ensure proper maintenance and long-lasting quality.
Most requested specifications by European customers:
- Length Options: 18’’ to 26’’ (45 cm to 66 cm).
- Colors: Natural Black, Blonde, Piano Mix (a blend of natural tones) – custom colors available on request.
- Average Set Weight: Around 150 grams for a full, voluminous style.
- Textures: Bone Straight, Natural Straight, Wavy, and Curly – all heat-style friendly.
With premium quality, flexible choices, and reliable worldwide shipping, you can be confident you’re buying the best clip in hair extensions directly from a trusted Vietnamese hair factory.
FAQs
How to put on clip in extensions to make them look natural?
If you’re learning how do clip in hair extensions work, blending is key. Match the texture and color, hide the wefts under top layers, and use light teasing or heat tools to ensure a seamless, natural finish.
How long do clip-in hair extensions stay in?
Knowing how do clip in hair extensions work helps you understand their limits. They’re meant for daily wear, typically lasting 8 to 12 hours, and should be removed before sleeping or showering.
Can you shower with clip-in hair extensions?
No. Since how do clip in hair extensions work relies on dry, secure clipping, showering with them can cause slipping, tangling, and damage. Always remove them before getting your hair wet.
Conclusion: How Do Clip In Hair Extensions Work Without the Commitment?
How do clip in hair extensions work to change your look so easily? They offer a quick, non-damaging way to add length and volume without the need for salon visits or permanent methods.
Whether you’re after everyday fullness or a special-event style boost, clip-ins are an easy, beginner-friendly solution. Apply them in minutes, remove them at night, and enjoy the freedom to change your hair as often as you like.
At GoviHair, we offer premium-quality clip-in extensions designed to blend seamlessly with your natural hair, so you can switch up your look confidently, whenever you want. Just clip in, style, and go.
Connect With Us
- WhatsApp: (+84) 795 746 986
- Email: [email protected]
- Instagram: govihair_vietnamhair_factory
- Tik Tok: govihairvietnam_official
- Website: govihair.com


 Ms. Rosie